Running Example Voting App in Docker Cloud
Contents
Update 16th June 2016 Now the base images have been updated to use alpine:3.4.0, so creating own fork isn’t necessary any more. I updated the configuration example to reflect that.
General
In this post I’ll show how to get the Docker’s example-voting-app to run on Docker Cloud. At the moment it requires some tweaks to the application as the service discovery in Docker Cloud is built on DNS which is a bit bugged in Alpine base image version 3.3.0 which is used in some components of the application, but that allows me to demonstrate the build mechanism that Docker Cloud offers. End result will be a scalable version of the application with HAProxy-based load balancing for both voting-app and result-app.
Prerequisites
Being familiar with the Docker Cloud core concepts is achieved by going through Docker Cloud introduction documentation. As we’ll be building images using the Docker Cloud build mechanism, it’s easiest to link that against an existing GitHub account. The Docker Cloud account will be linked against a cloud provider, currently supported are AWS, Digital Ocean, Microsoft Azure, Softlayer and Packet. They offer different free tiers and some of the offer free credit. I linked an existing AWS account that I’ve also used in previous posts and it went smoothly.
Setting up the Docker Cloud account
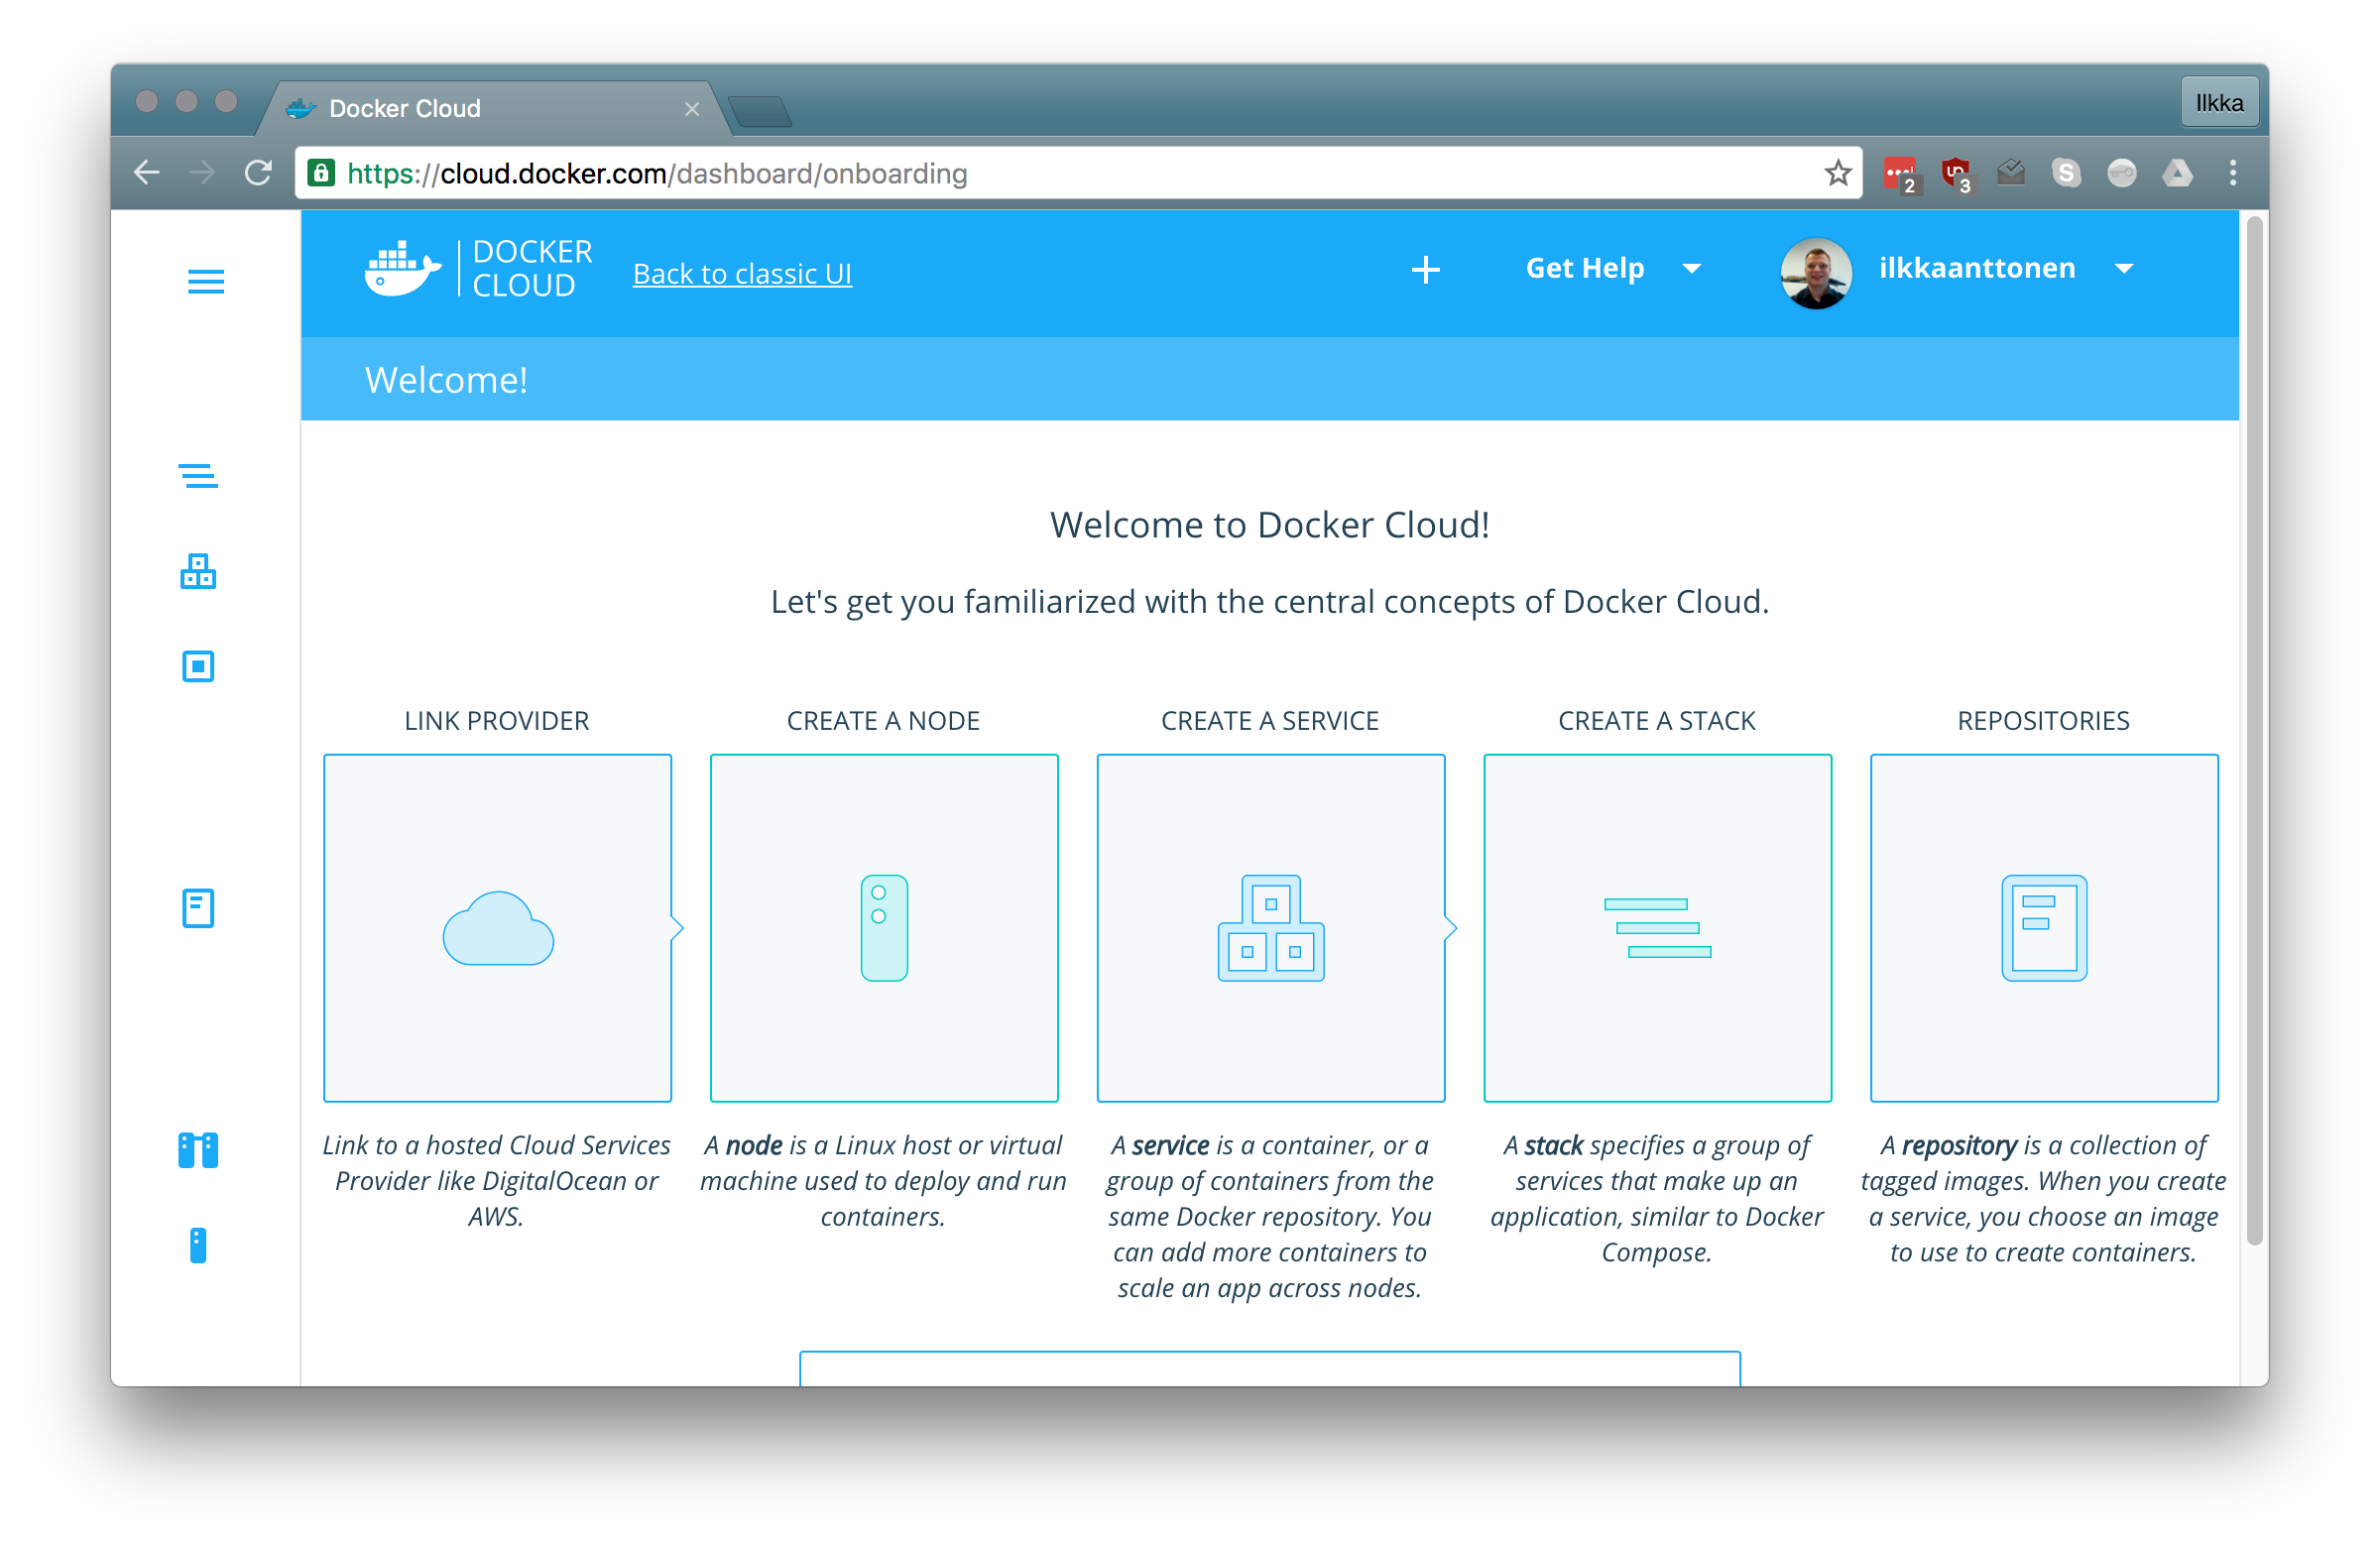
When you log in to Docker Cloud, it offers a wizard which will take you through the basic set-up. Following the documentation and the wizard you should be up and running in no time. For this exercise any of the offered cloud accounts should do, I used AWS.
The example-voting-application
NB! The base images have now been fixed, so this chapter can be skipped.
Issues with the Alpine base images and DNS
The Docker Cloud service discovery is based on DNS. The DNS server is automatically injected to containers running on the cloud and the definition can be seen in the /etc/resolv.conf file. At the moment the alpine:3.3.0 official base image doesn’t properly support using the “search” setting in resolv.conf which tells the base domain. This has been described in more detail in this issue. It can be tested with trying to ping another container with the short name (which doesn’t work) and then with the fully qualified name which works. This should be fixed with the alpine:3.4.0 official image which has already been released, but it will take some time until the python:2.7-alpine image which is used in the voting-app and java:8-jdk-alpine official image which is used in the worker get updated. For now we need to use non-alpine based base images so that the service discovery works properly.
Forking the application and cloning it
Fork the application using the GitHub UI.
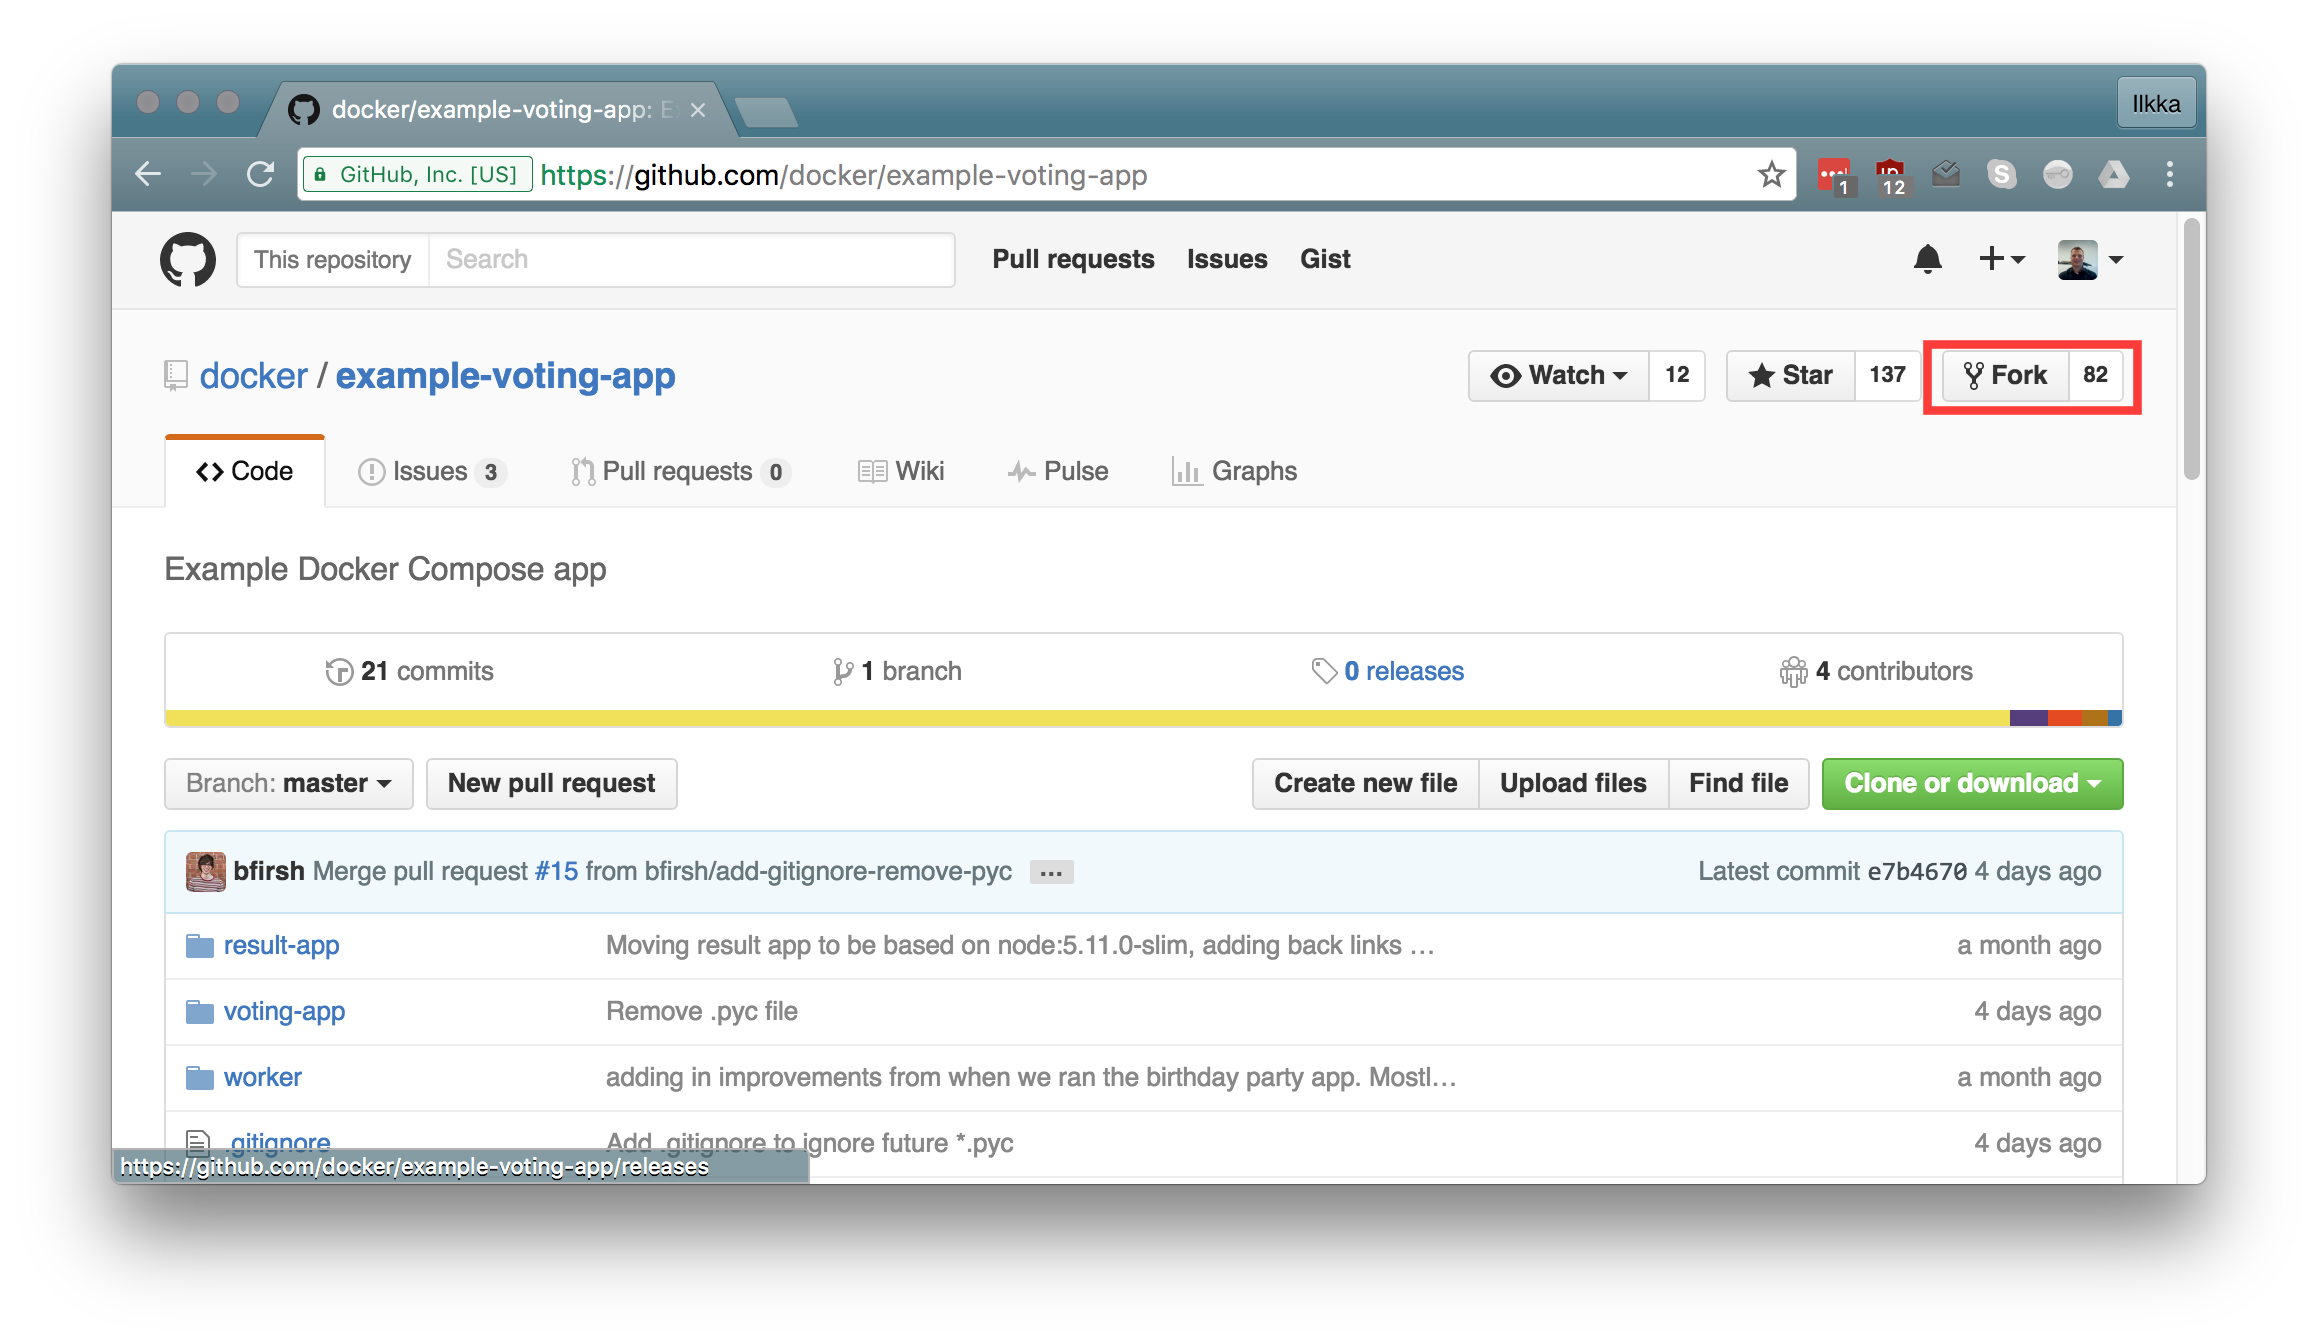 After that clone it so that you can make the required changes.
1
git clone https://github.com/<your_account>/example-voting-app.git
Changing the voting-app
Change the second line of voting-app/Dockerfile from
1
FROM python:2.7-alpine
to
1
FROM python:2.7-slim
Changing the worker
Change the first line of worker/Dockerfile from
1
FROM java:8-jdk-alpine
to
1
FROM java:8-jdk
Creating build pipelines and building
Commit the changes and push to the git repository
1
2
git commit -a -m "Changed the base images"
git push origin master
Under the repositories tab crate a new repository for the image. Name it for example your-docker-cloud-user/voting-app and configure to your forked and updated source repository.
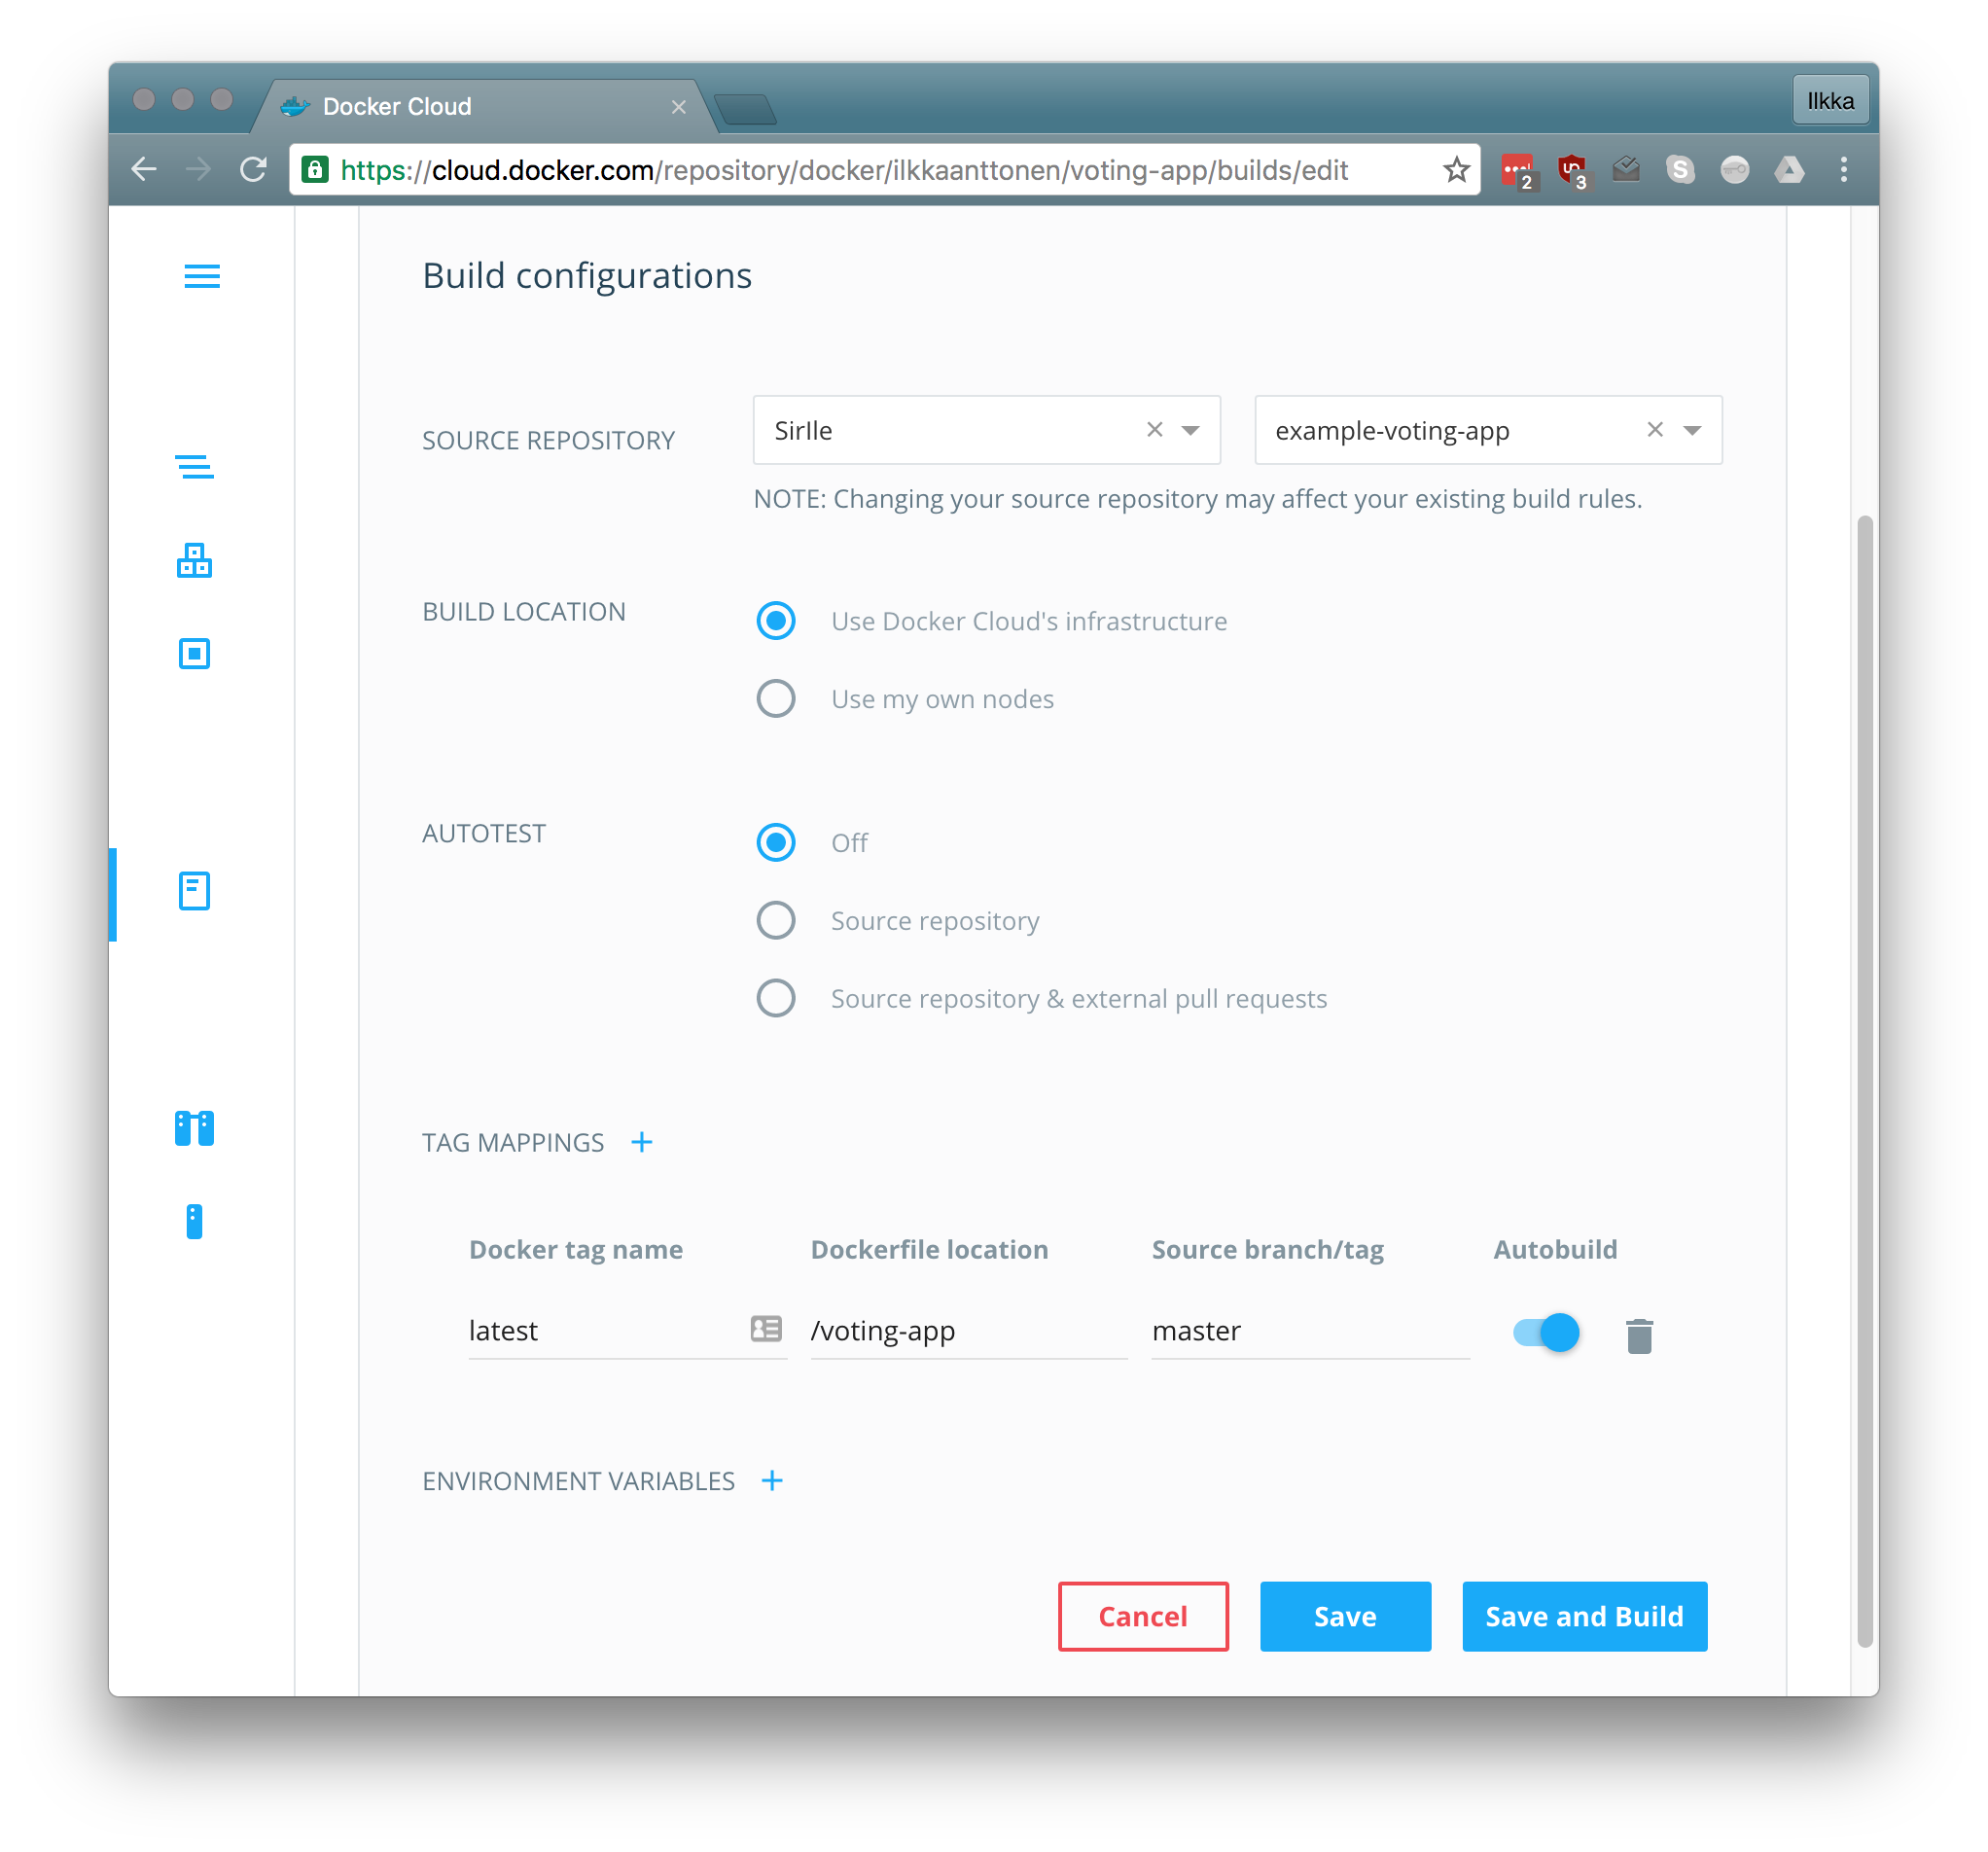 Then repeat the procedure for the worker.
The result with the repositories looks something like this:
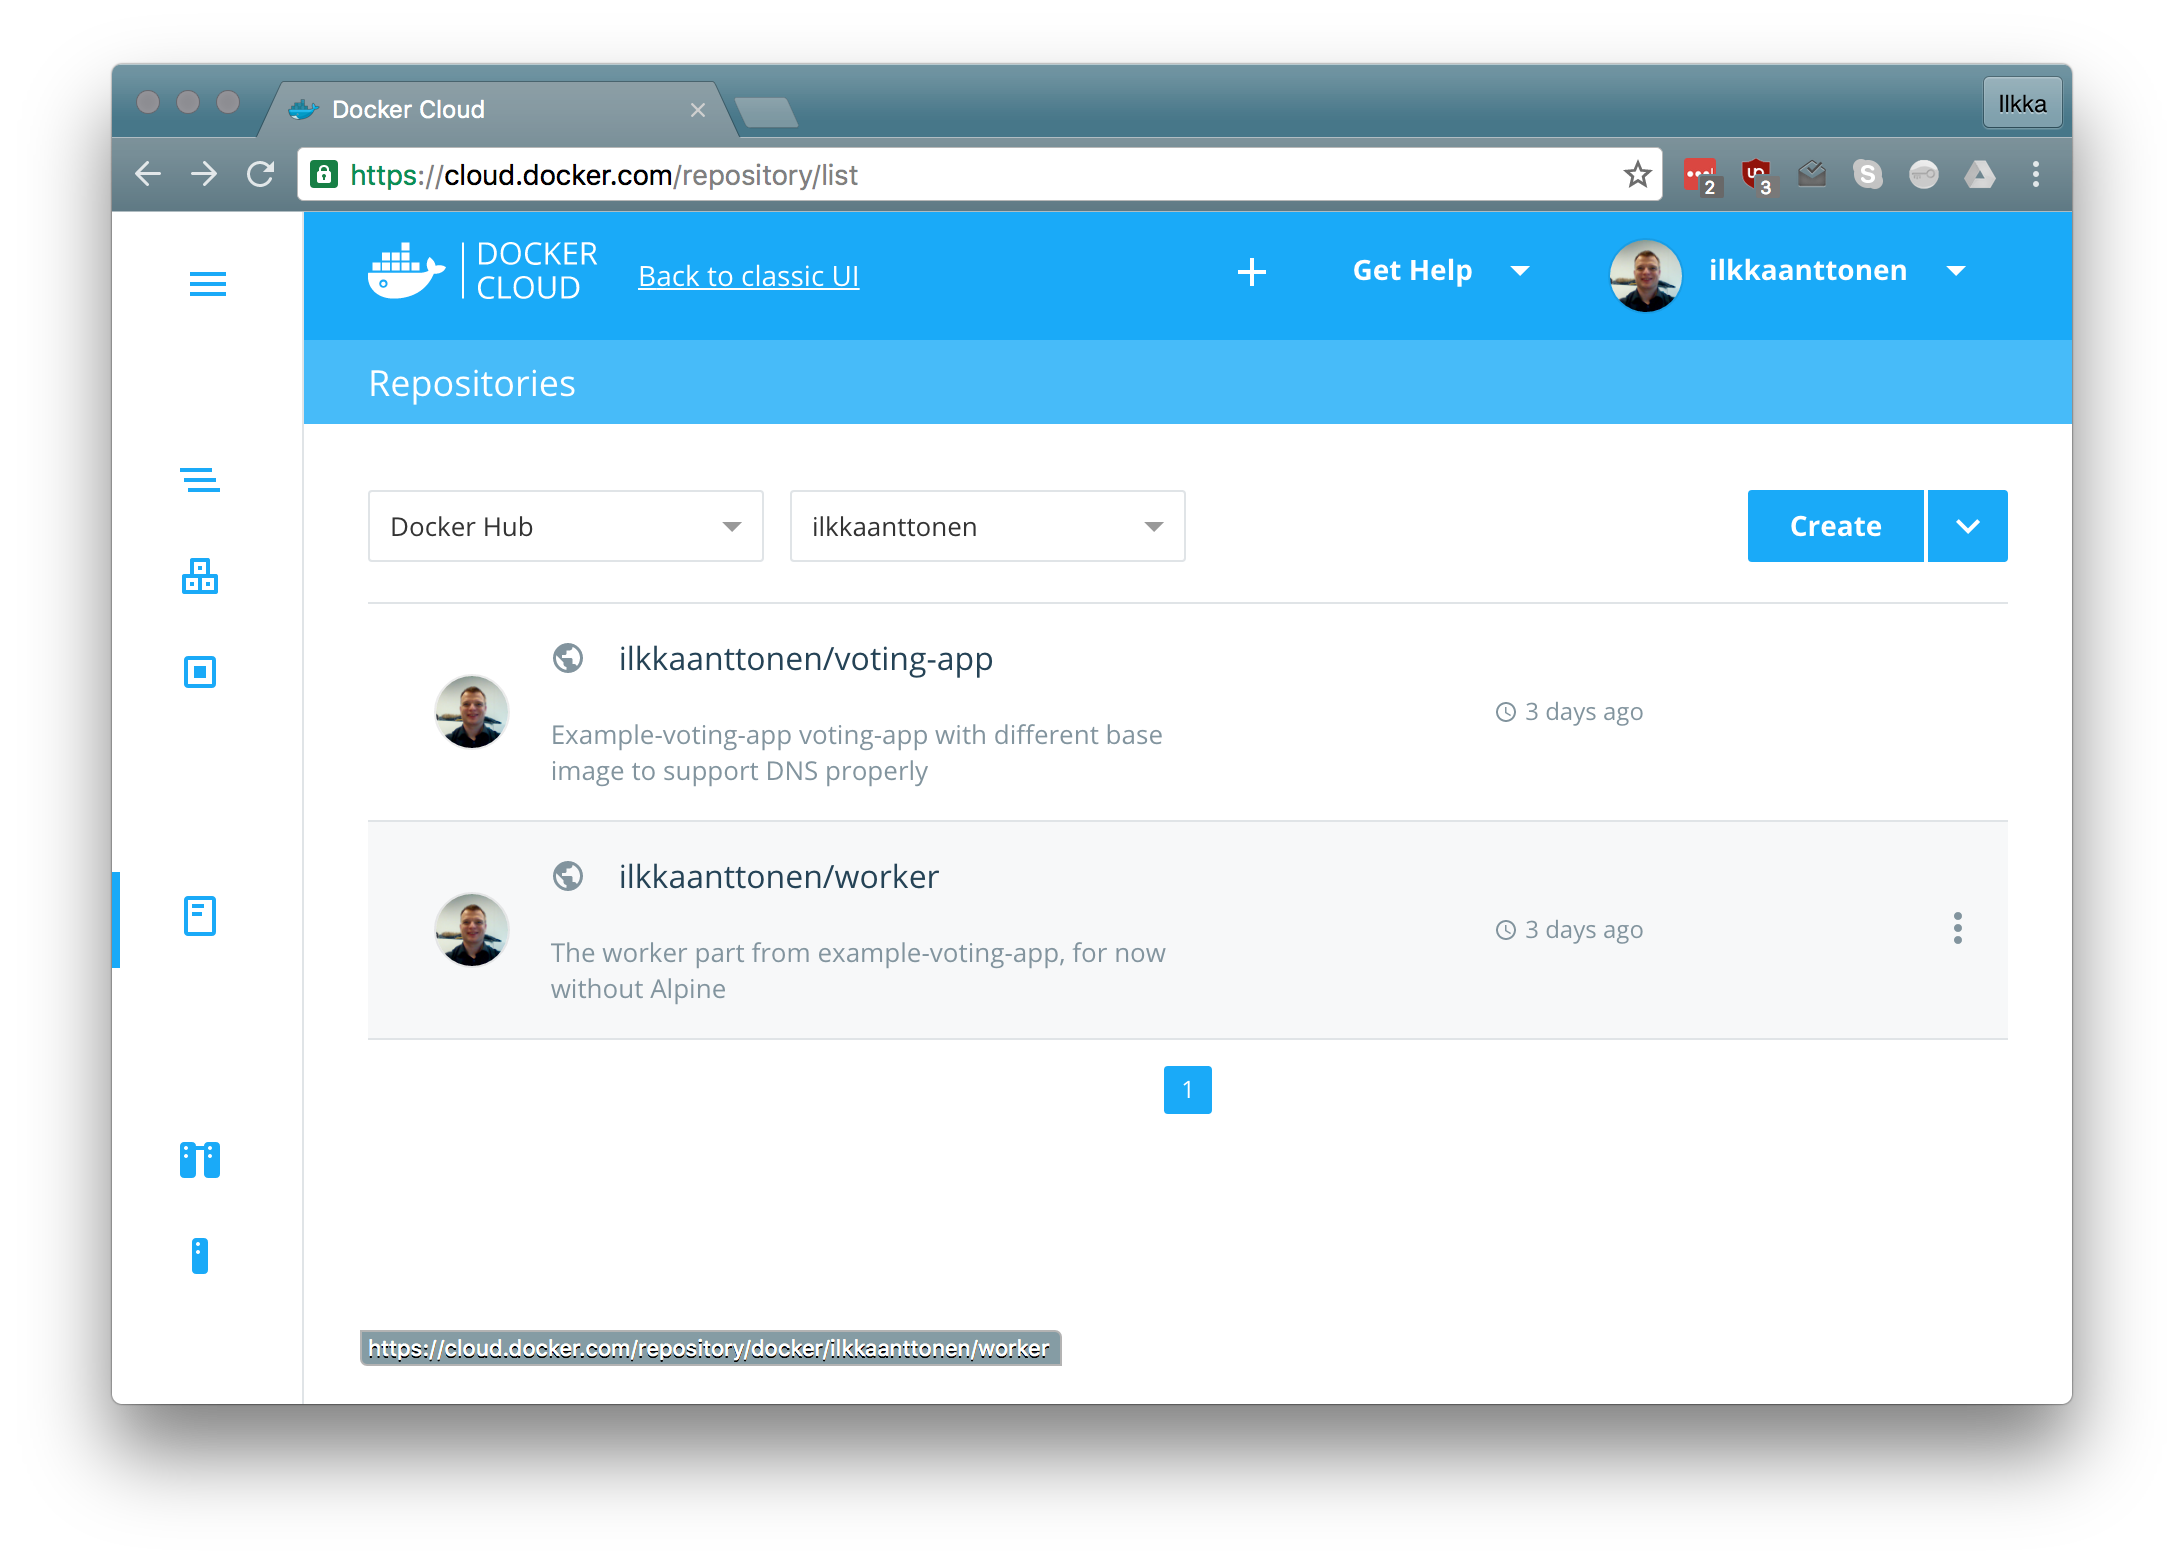 You can
initiate the build by either pushing to the repository or by pressing the wrench
icon under the repository details page. The repositories I created are public,
so they can also be used.
Creating the docker-cloud.yml stack file
Docker Cloud stack definition format is pretty close to the Docker Compose format.
Configuring load balancers for front-end apps
We’ll expose the voting-app and result-app using the HAProxy implementation that Docker Cloud provides called dockercloud/haproxy. It is tied into the Docker Cloud so that it automatically notices when a defined service is scaled and starts distributing the calls there.
Rest of the definition comes almost directly from the compose file. As the stack is automatically located in an overlay network, there is no need to define networking options. Also as a service is automatically exposed through the DNS name (which is the same as the service name) there is no need to define links between the services. The HAProxies are linked to the services they are balancing as that is the how they know which service they should expose.
docker-cloud.yml
1
2
3
4
5
6
7
8
9
10
11
12
13
14
15
16
17
18
19
20
21
22
23
24
25
26
db:
  image: 'postgres:9.4'
lb-result:
  image: 'dockercloud/haproxy:latest'
  links:
    - result-app
  ports:
    - '81:80'
  roles:
    - global
lb-voting:
  image: 'dockercloud/haproxy:latest'
  links:
    - voting-app
  ports:
    - '80:80'
  roles:
    - global
redis:
  image: 'redis:alpine'
result-app:
  image: 'docker/example-voting-app-result-app:latest'
voting-app:
  image: 'docker/example-voting-app-voting-app:latest'
worker:
  image: 'docker/example-voting-app-worker:latest'
The lines 3-10 and 11-18 define the loadbalancers. With the role global they get access to the Docker Cloud endpoints so that they can autoconfigure when something changes.
Deploying the stack
From the Stacks tab choose create and either drag and drop or copy the docker-cloud.yml to the textfield.
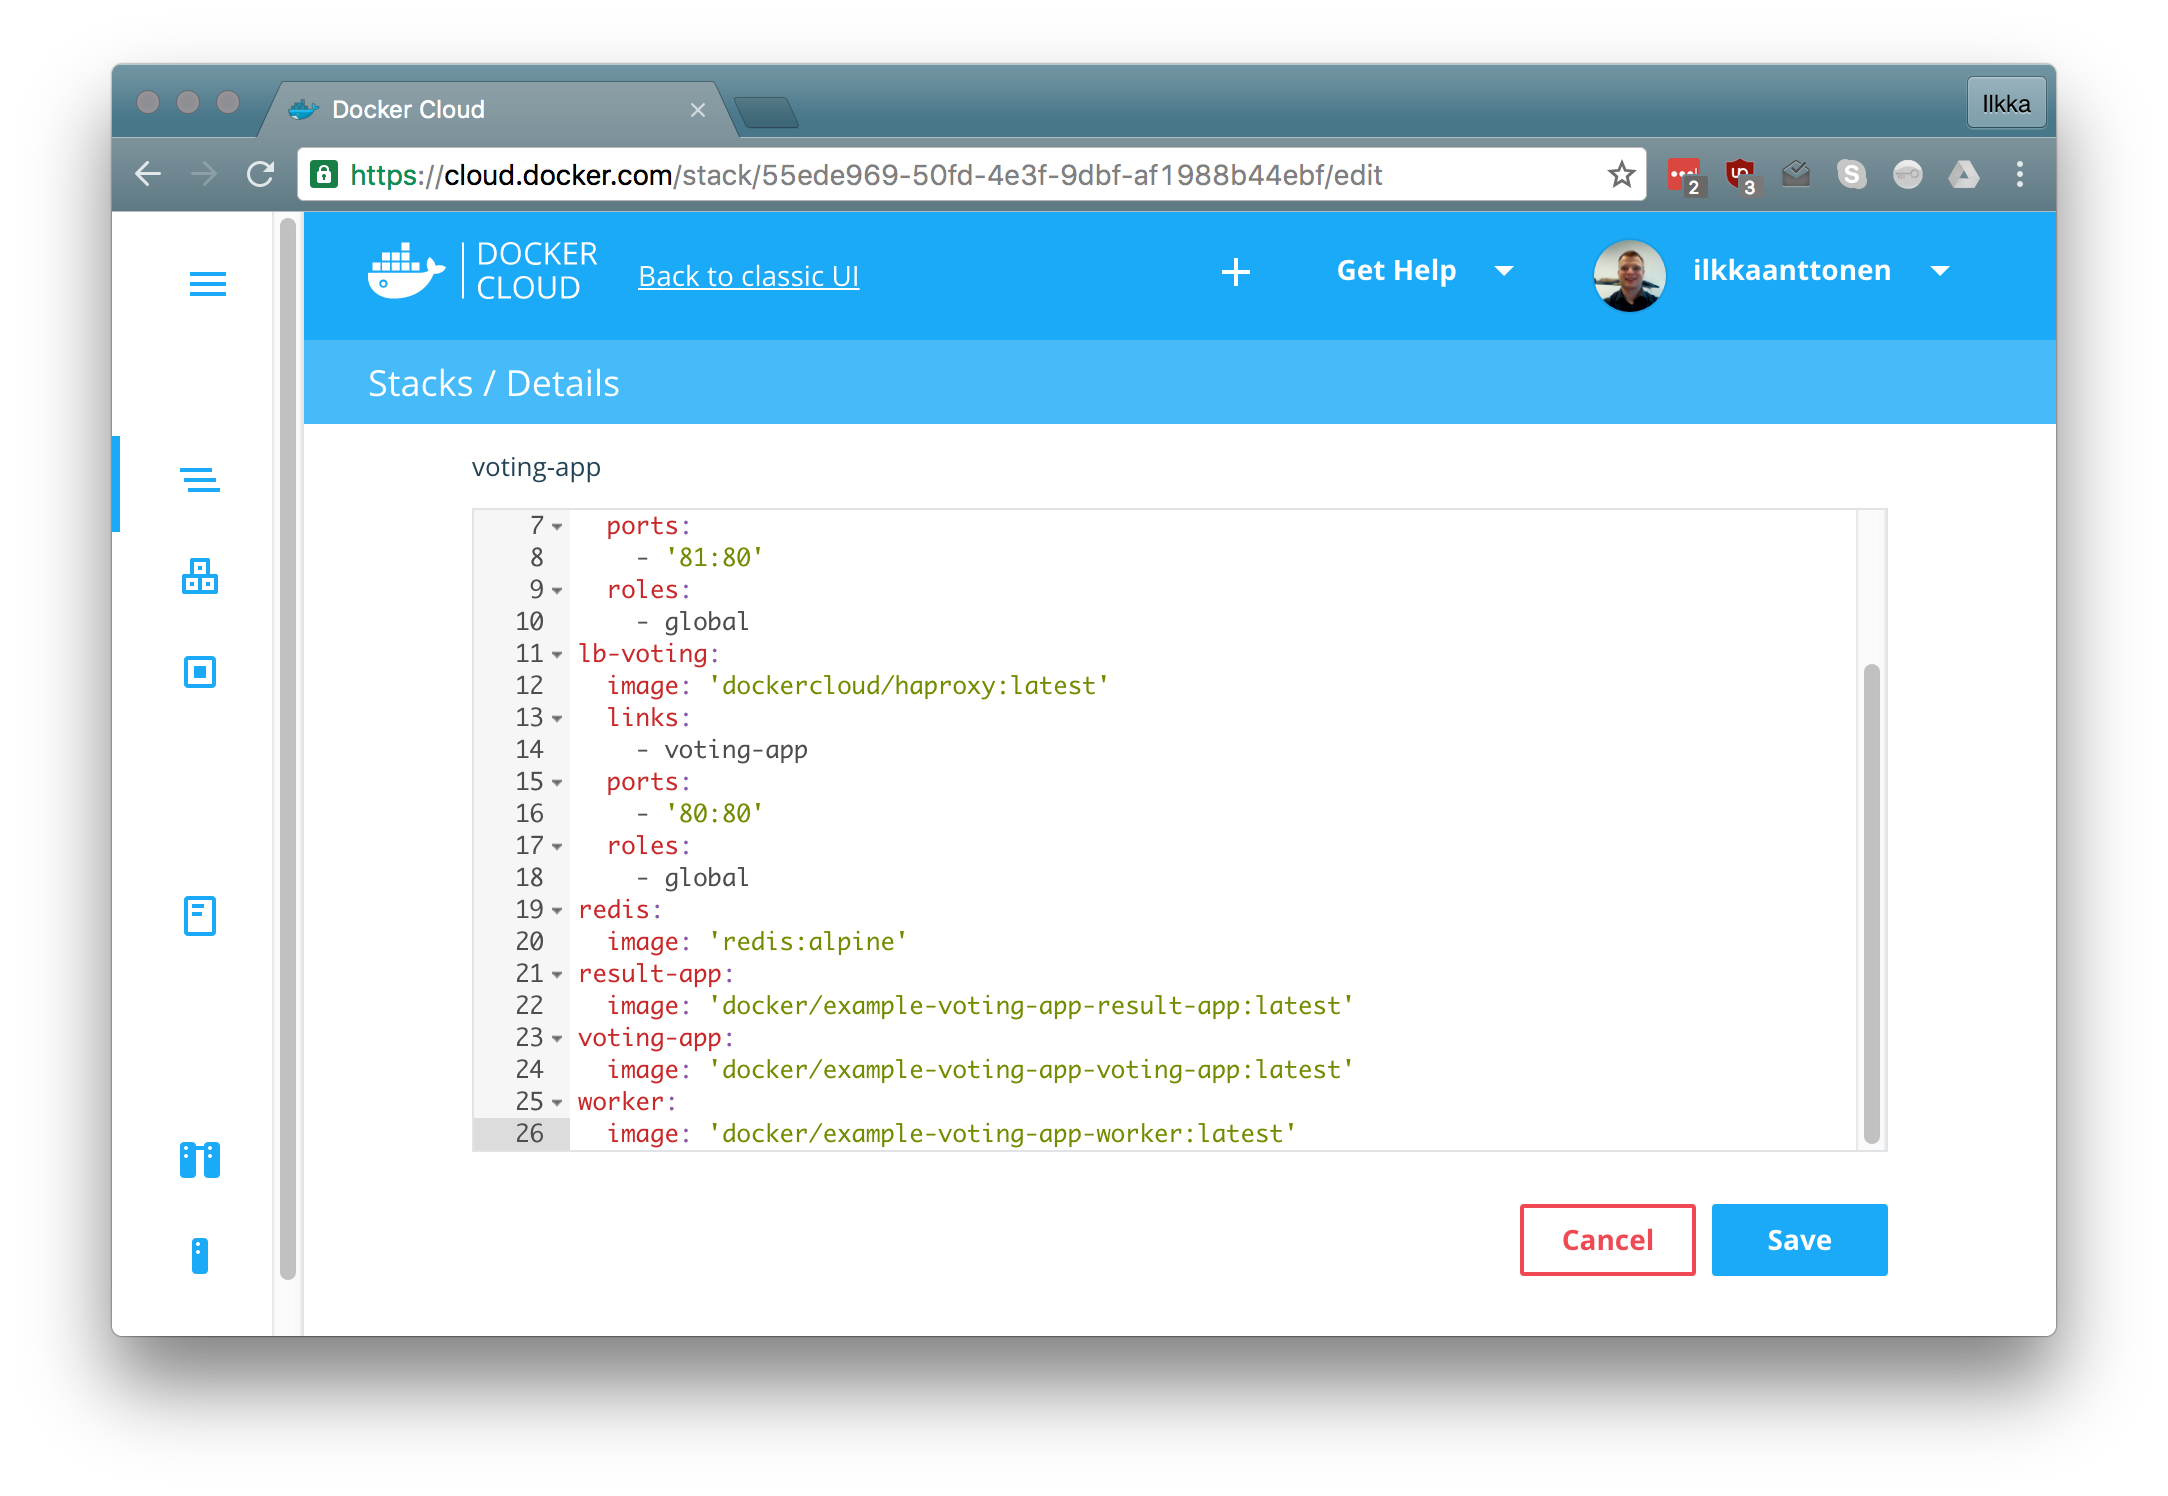 After the
stack file has been created it can be deployed. This will take a while as the
images are downloaded from the repositories and launched.
Troubleshooting
I have had a few occasions when one of the services hasn’t started properly and is shown with red color in the UI. You can start or redeploy a service by pressing the three dots that appear to the rights of the service when hovering over it.
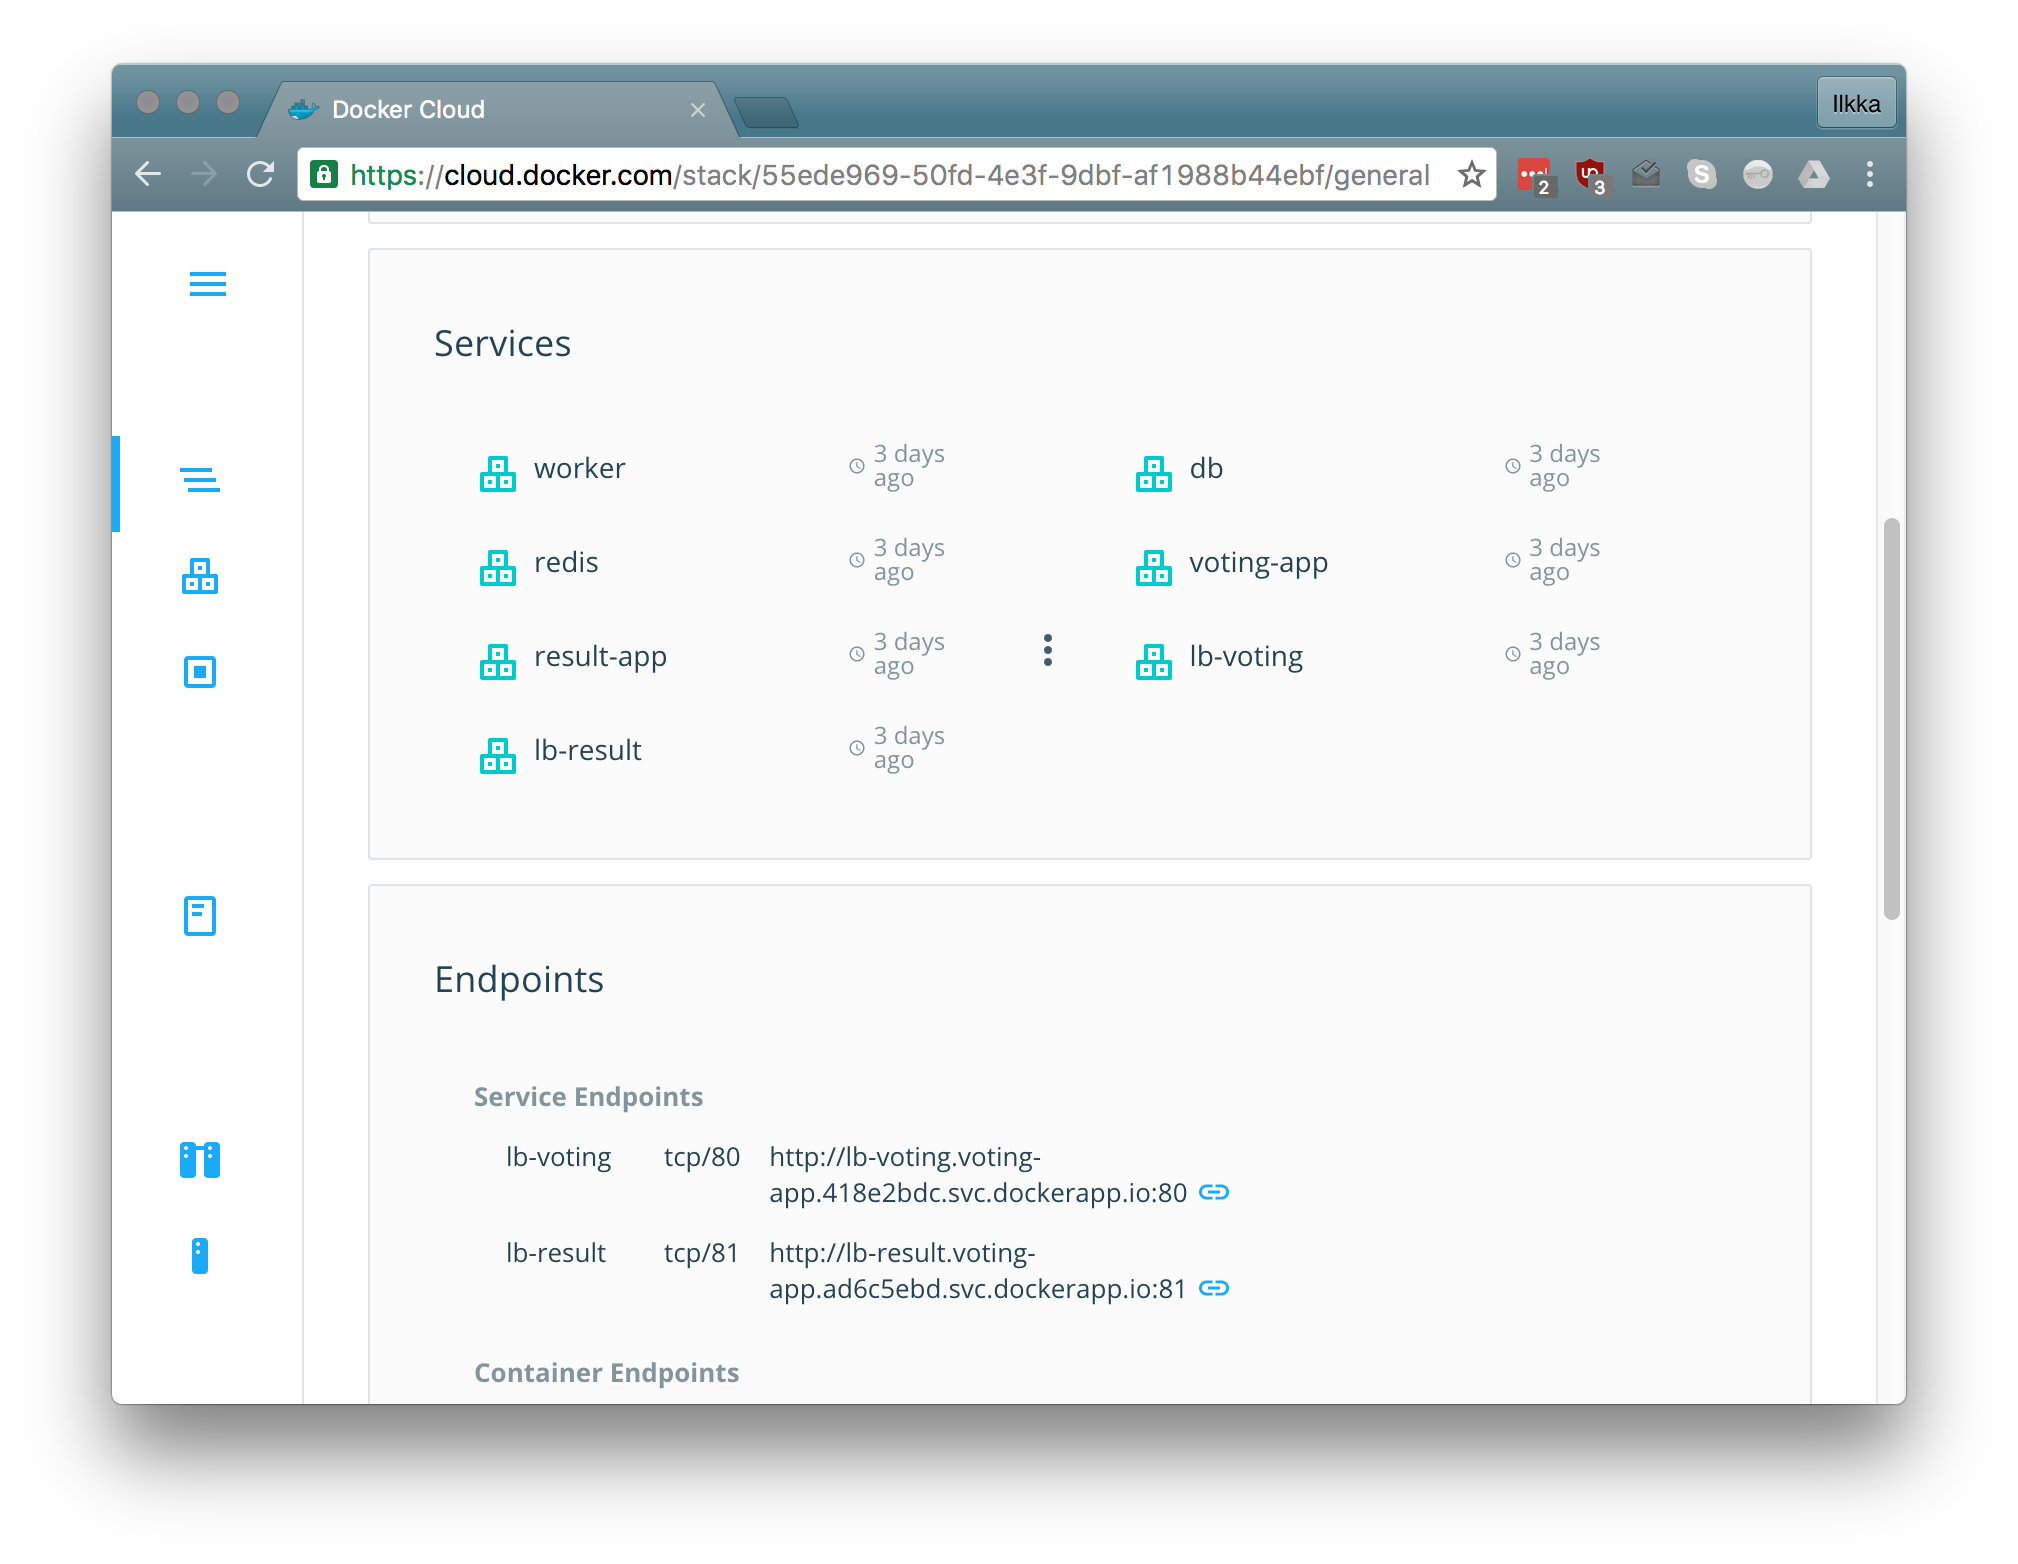
Checking the logs
When you navigate to a specific container details either through the Containers tab on the left or through a service you can see the runtime details for it. You can also view the logs in the web-ui
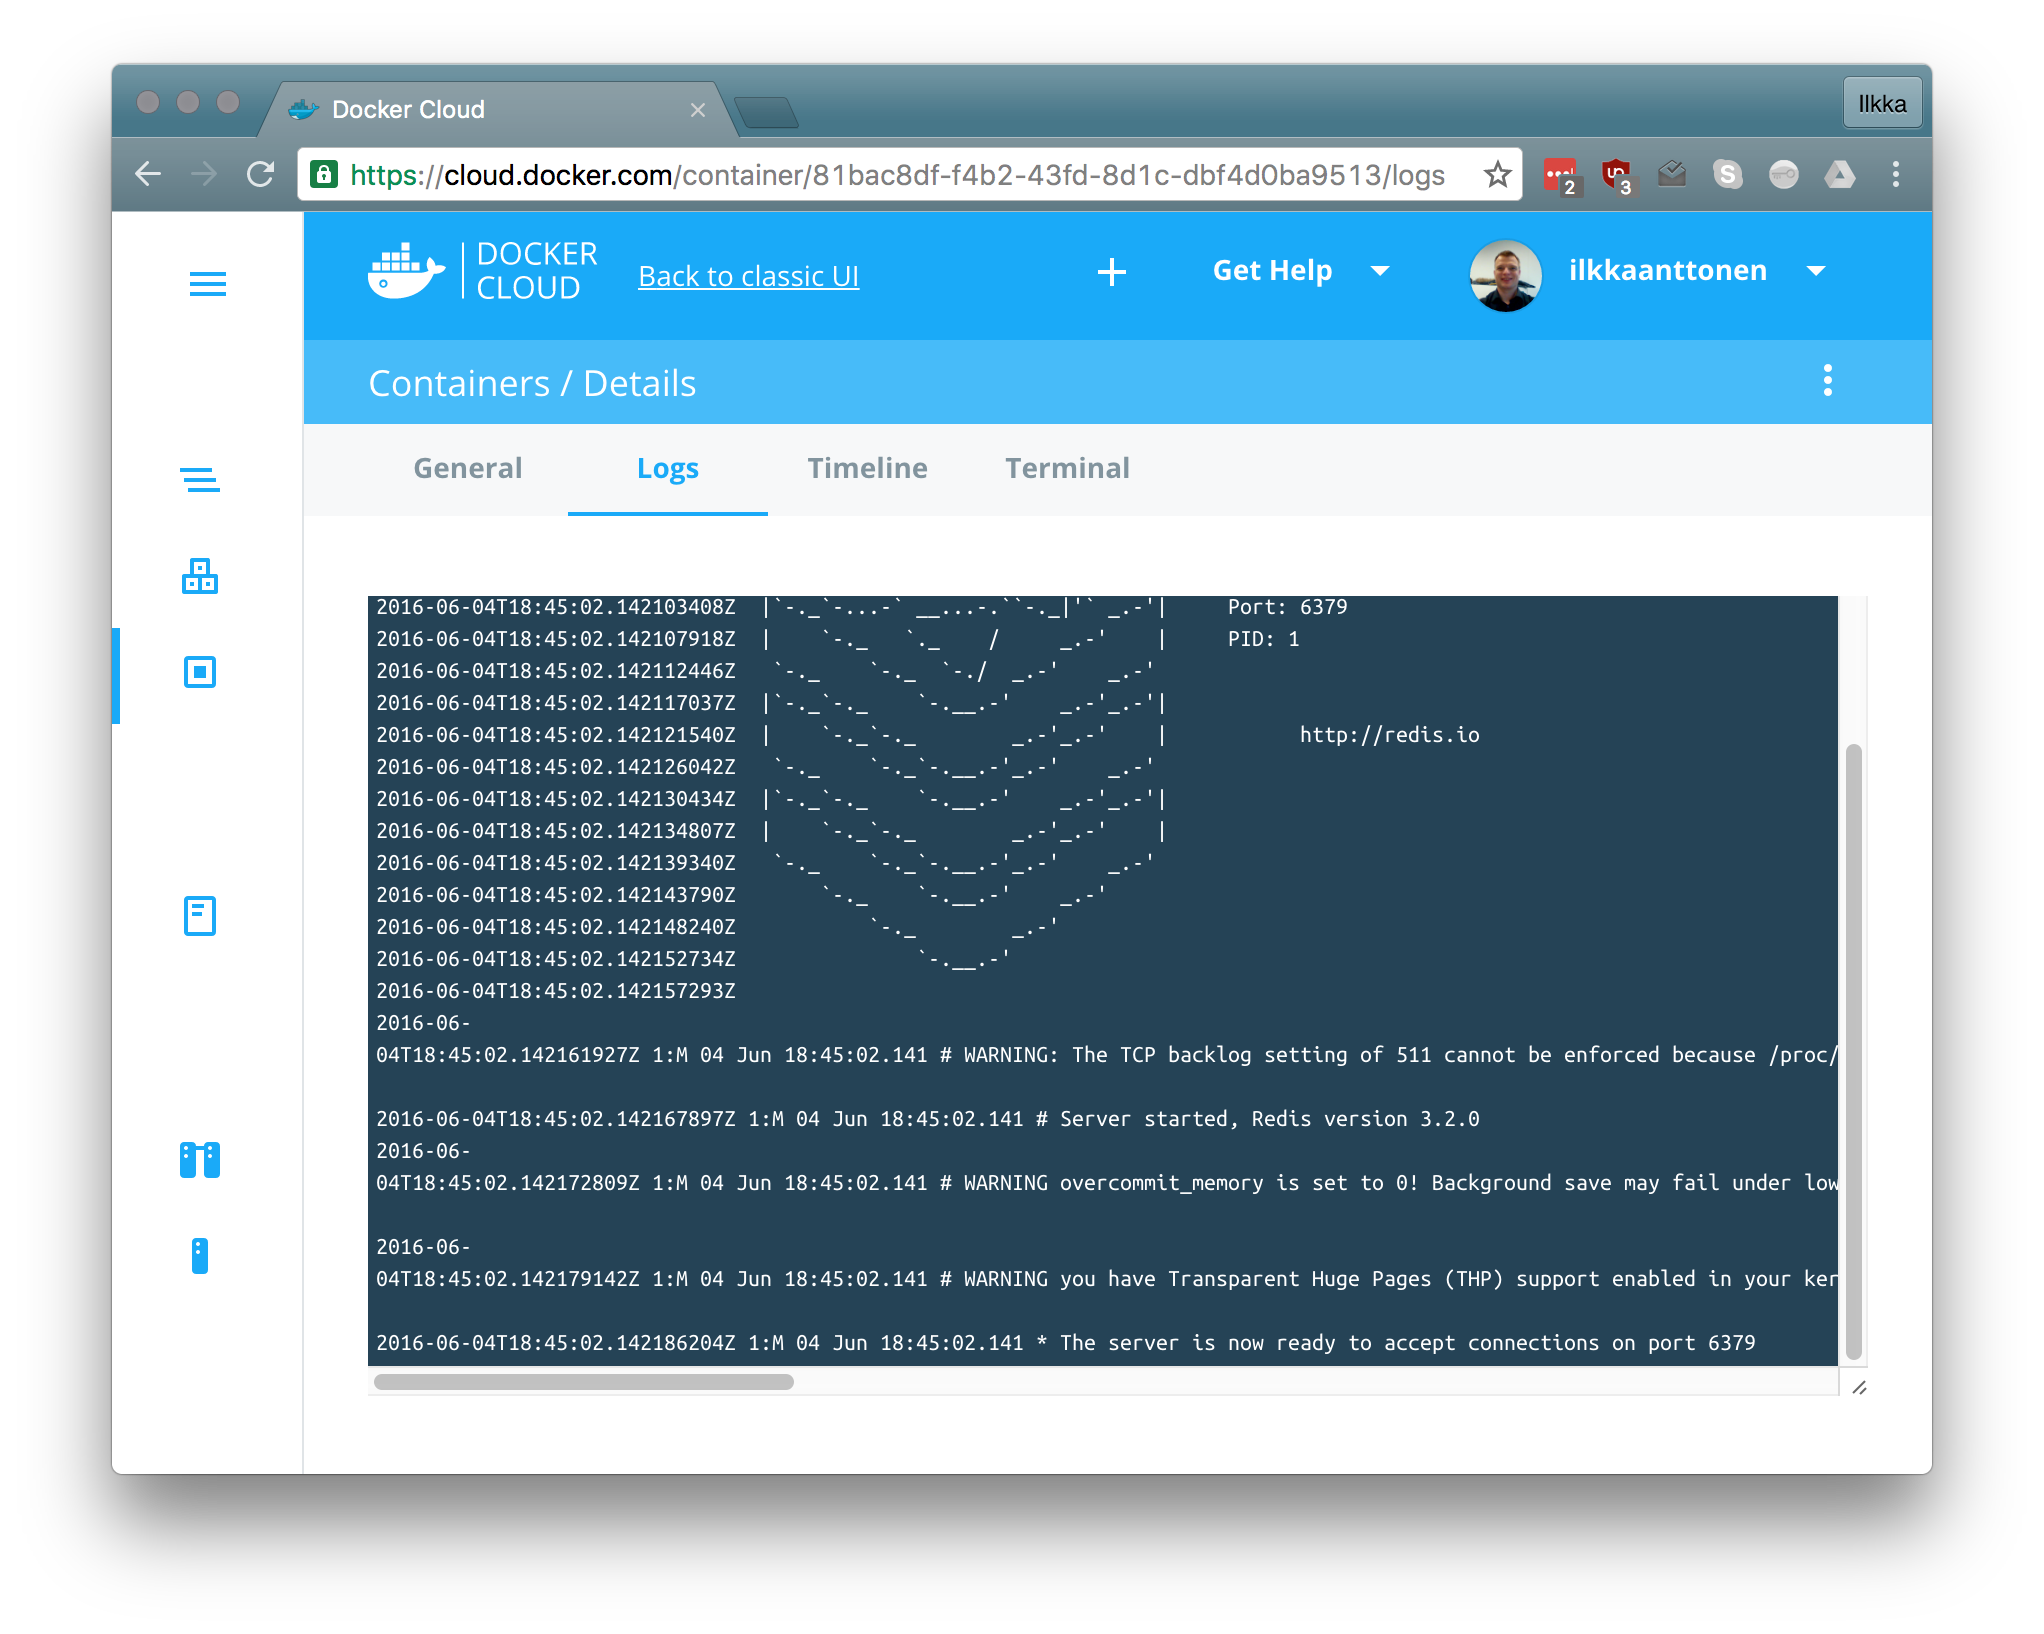
Opening a terminal and testing connectivity
By navigating to the Terminal tab you can also access a terminal for that container (if it support a terminal, so isn’t for example a statically linked go-executable). Below is a demonstration of pinging a service running in another container showing how the internal DNS based service discovery works.
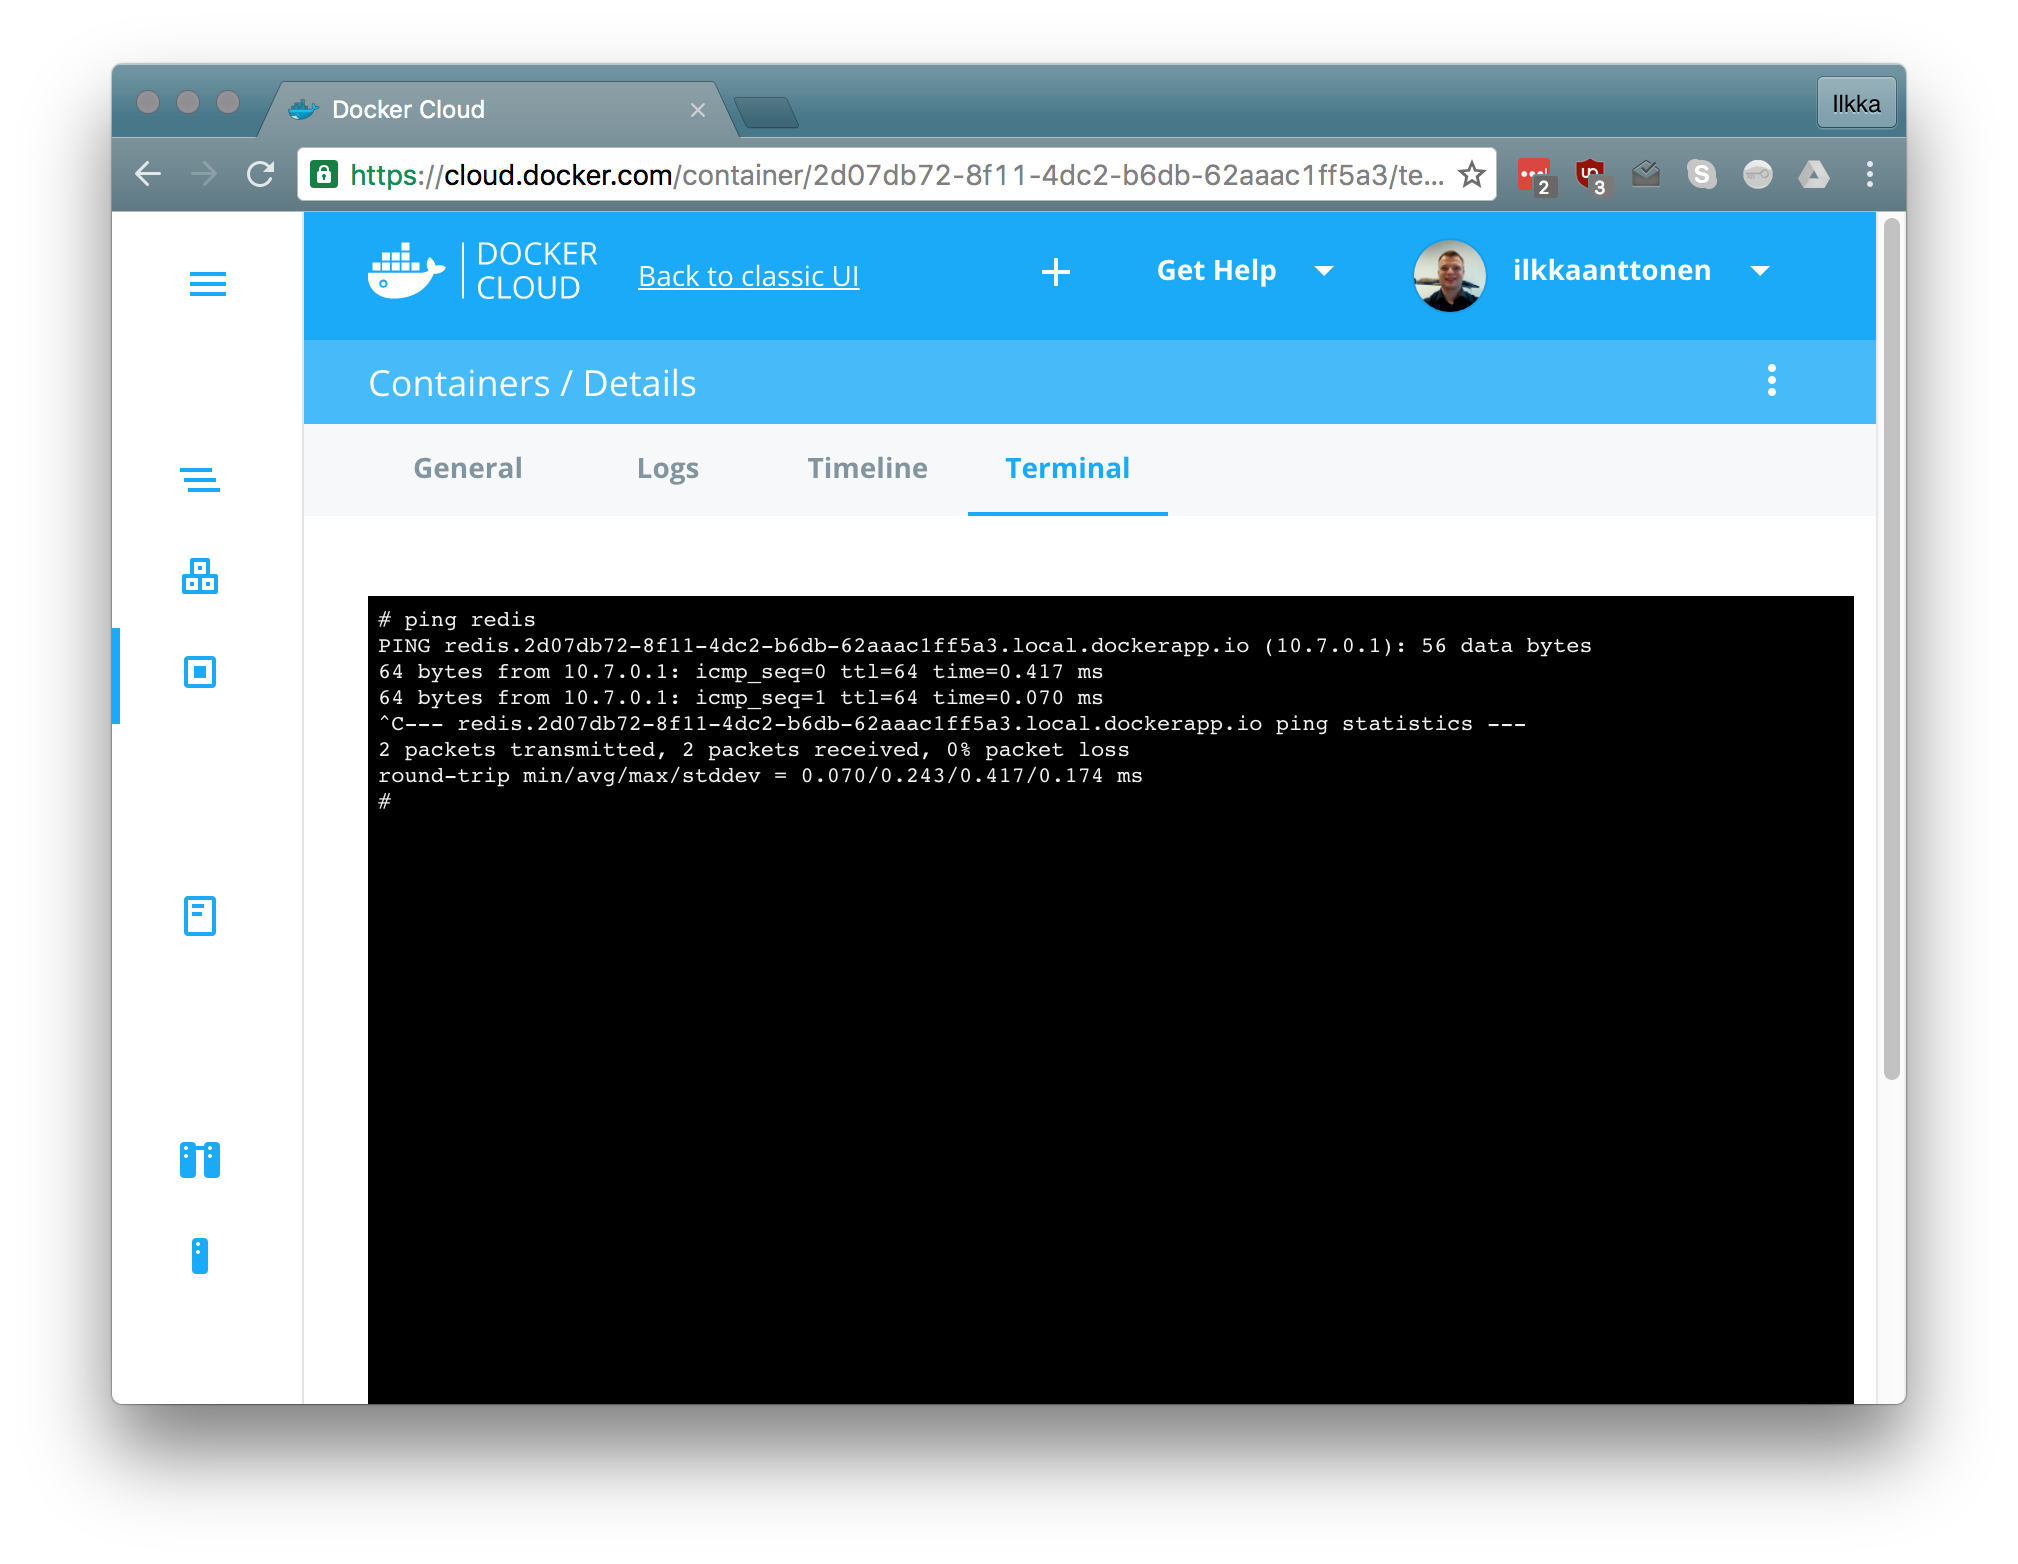
Testing the application
Opening the firewall to AWS
Depending on your AWS security settings you need to open the defined ports (in this case 80 and 81). It can be done with the command
1
aws ec2 authorize-security-group-ingress --group-id <your_group_id> --protocol tcp --port 80-81 --cidr $(curl checkip.amazonaws.com)/32
Calling the applications
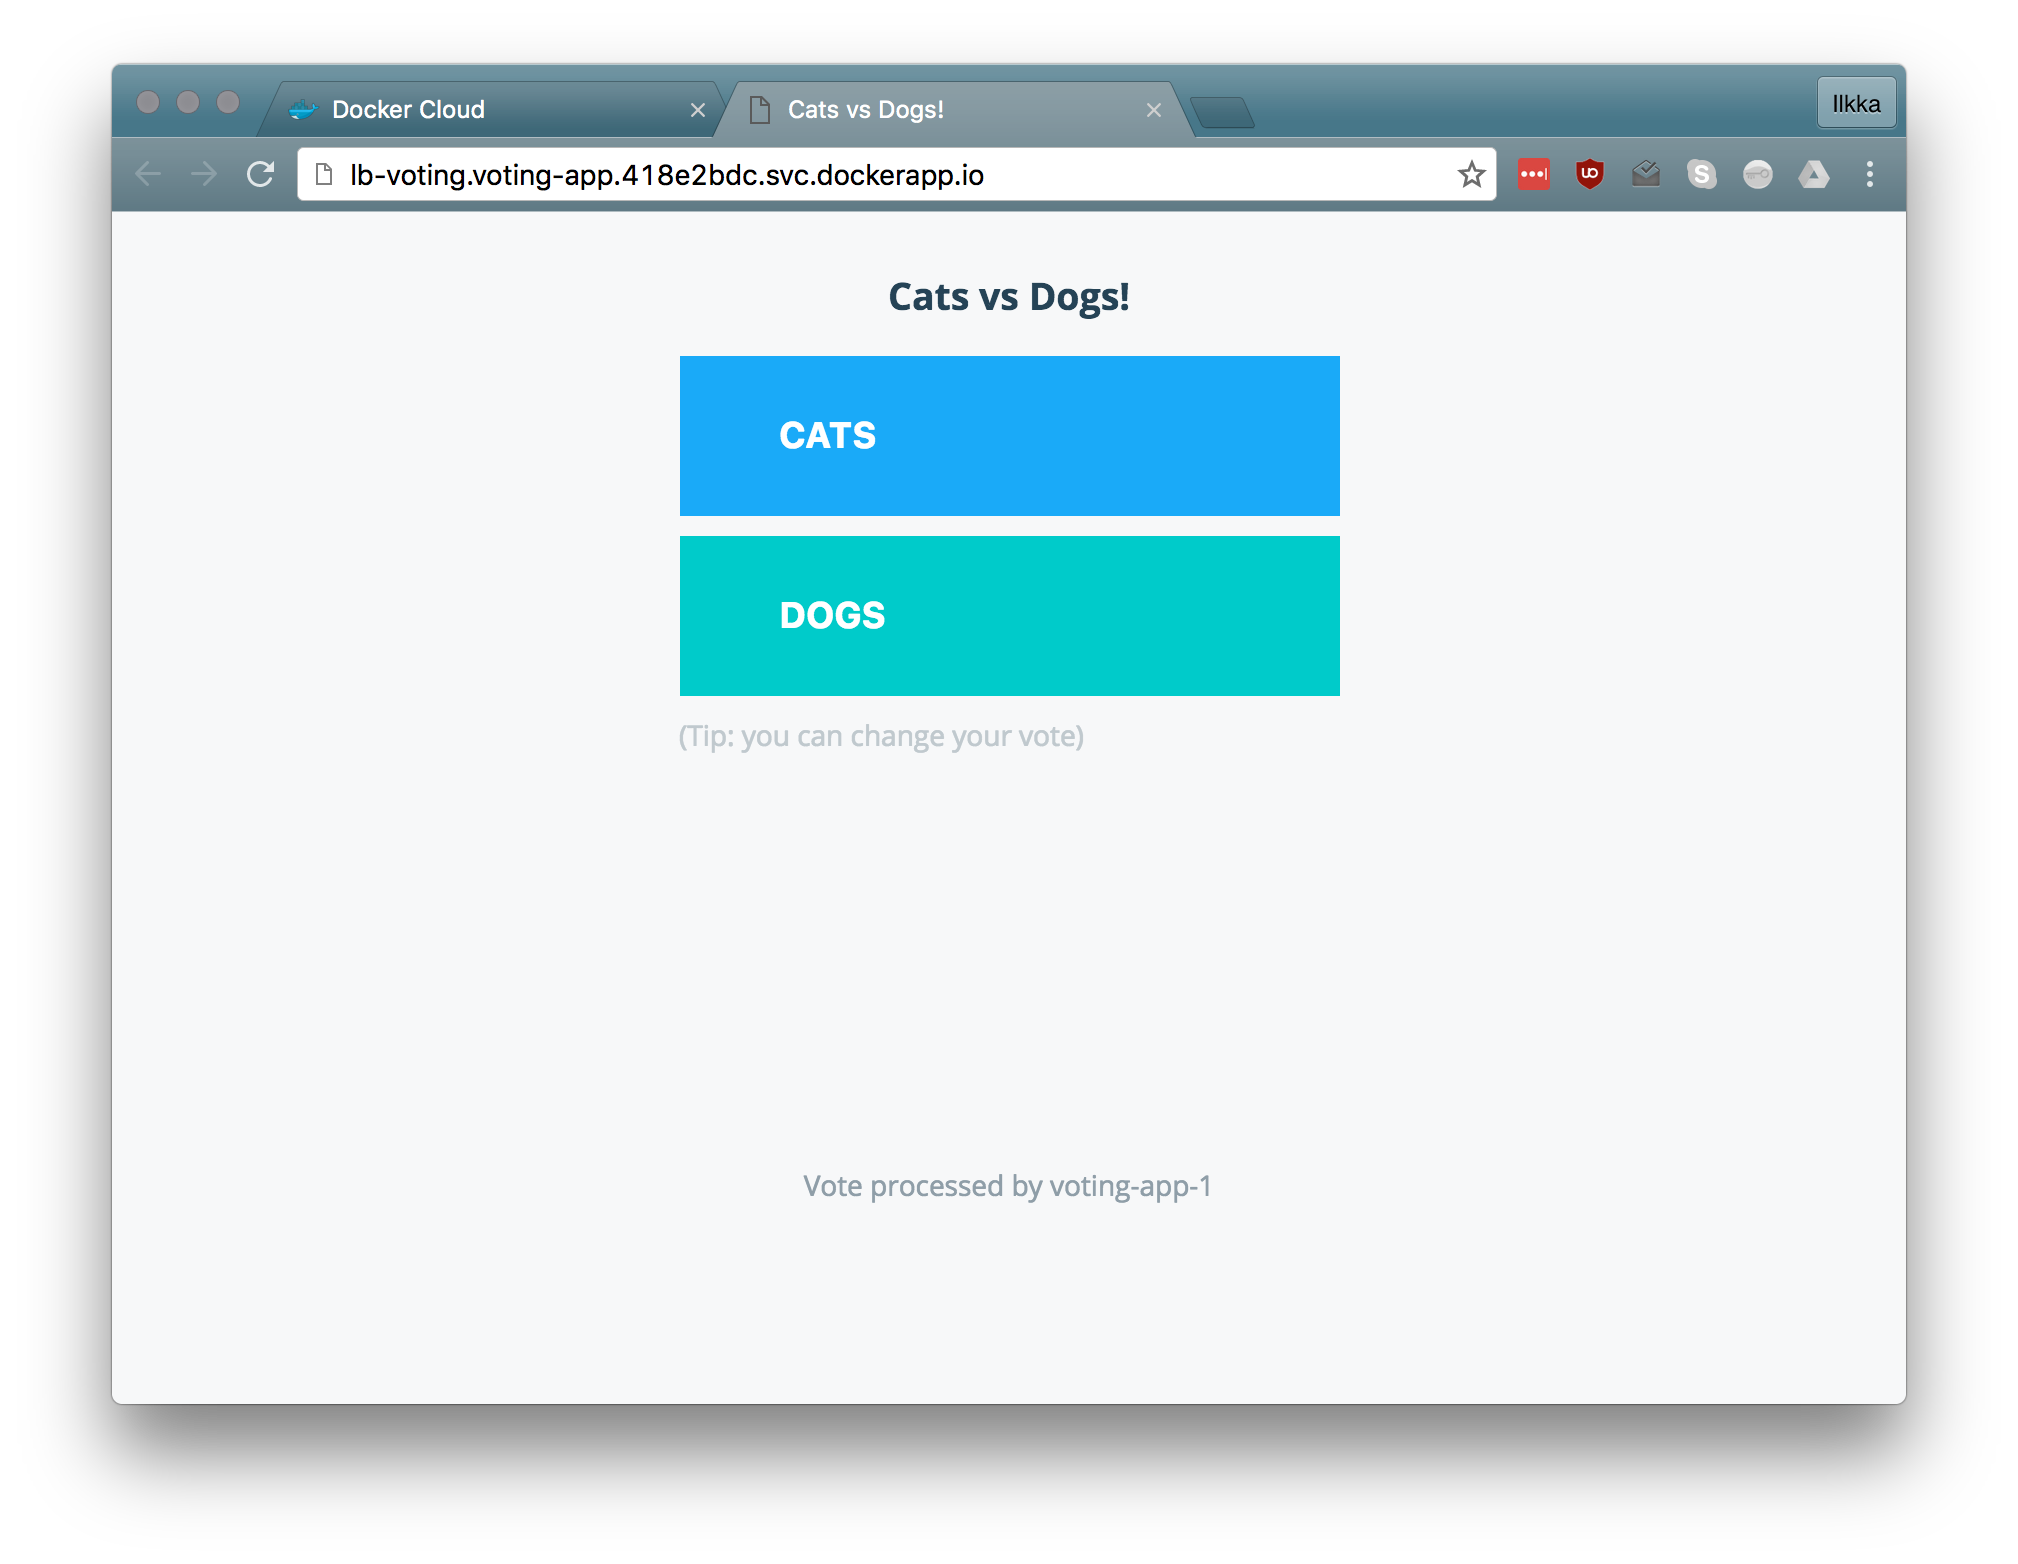
You can launch the application by clicking on the endpoint link under the Stacks tab. This should open up a window displaying the voting-app
Scaling the voting-app
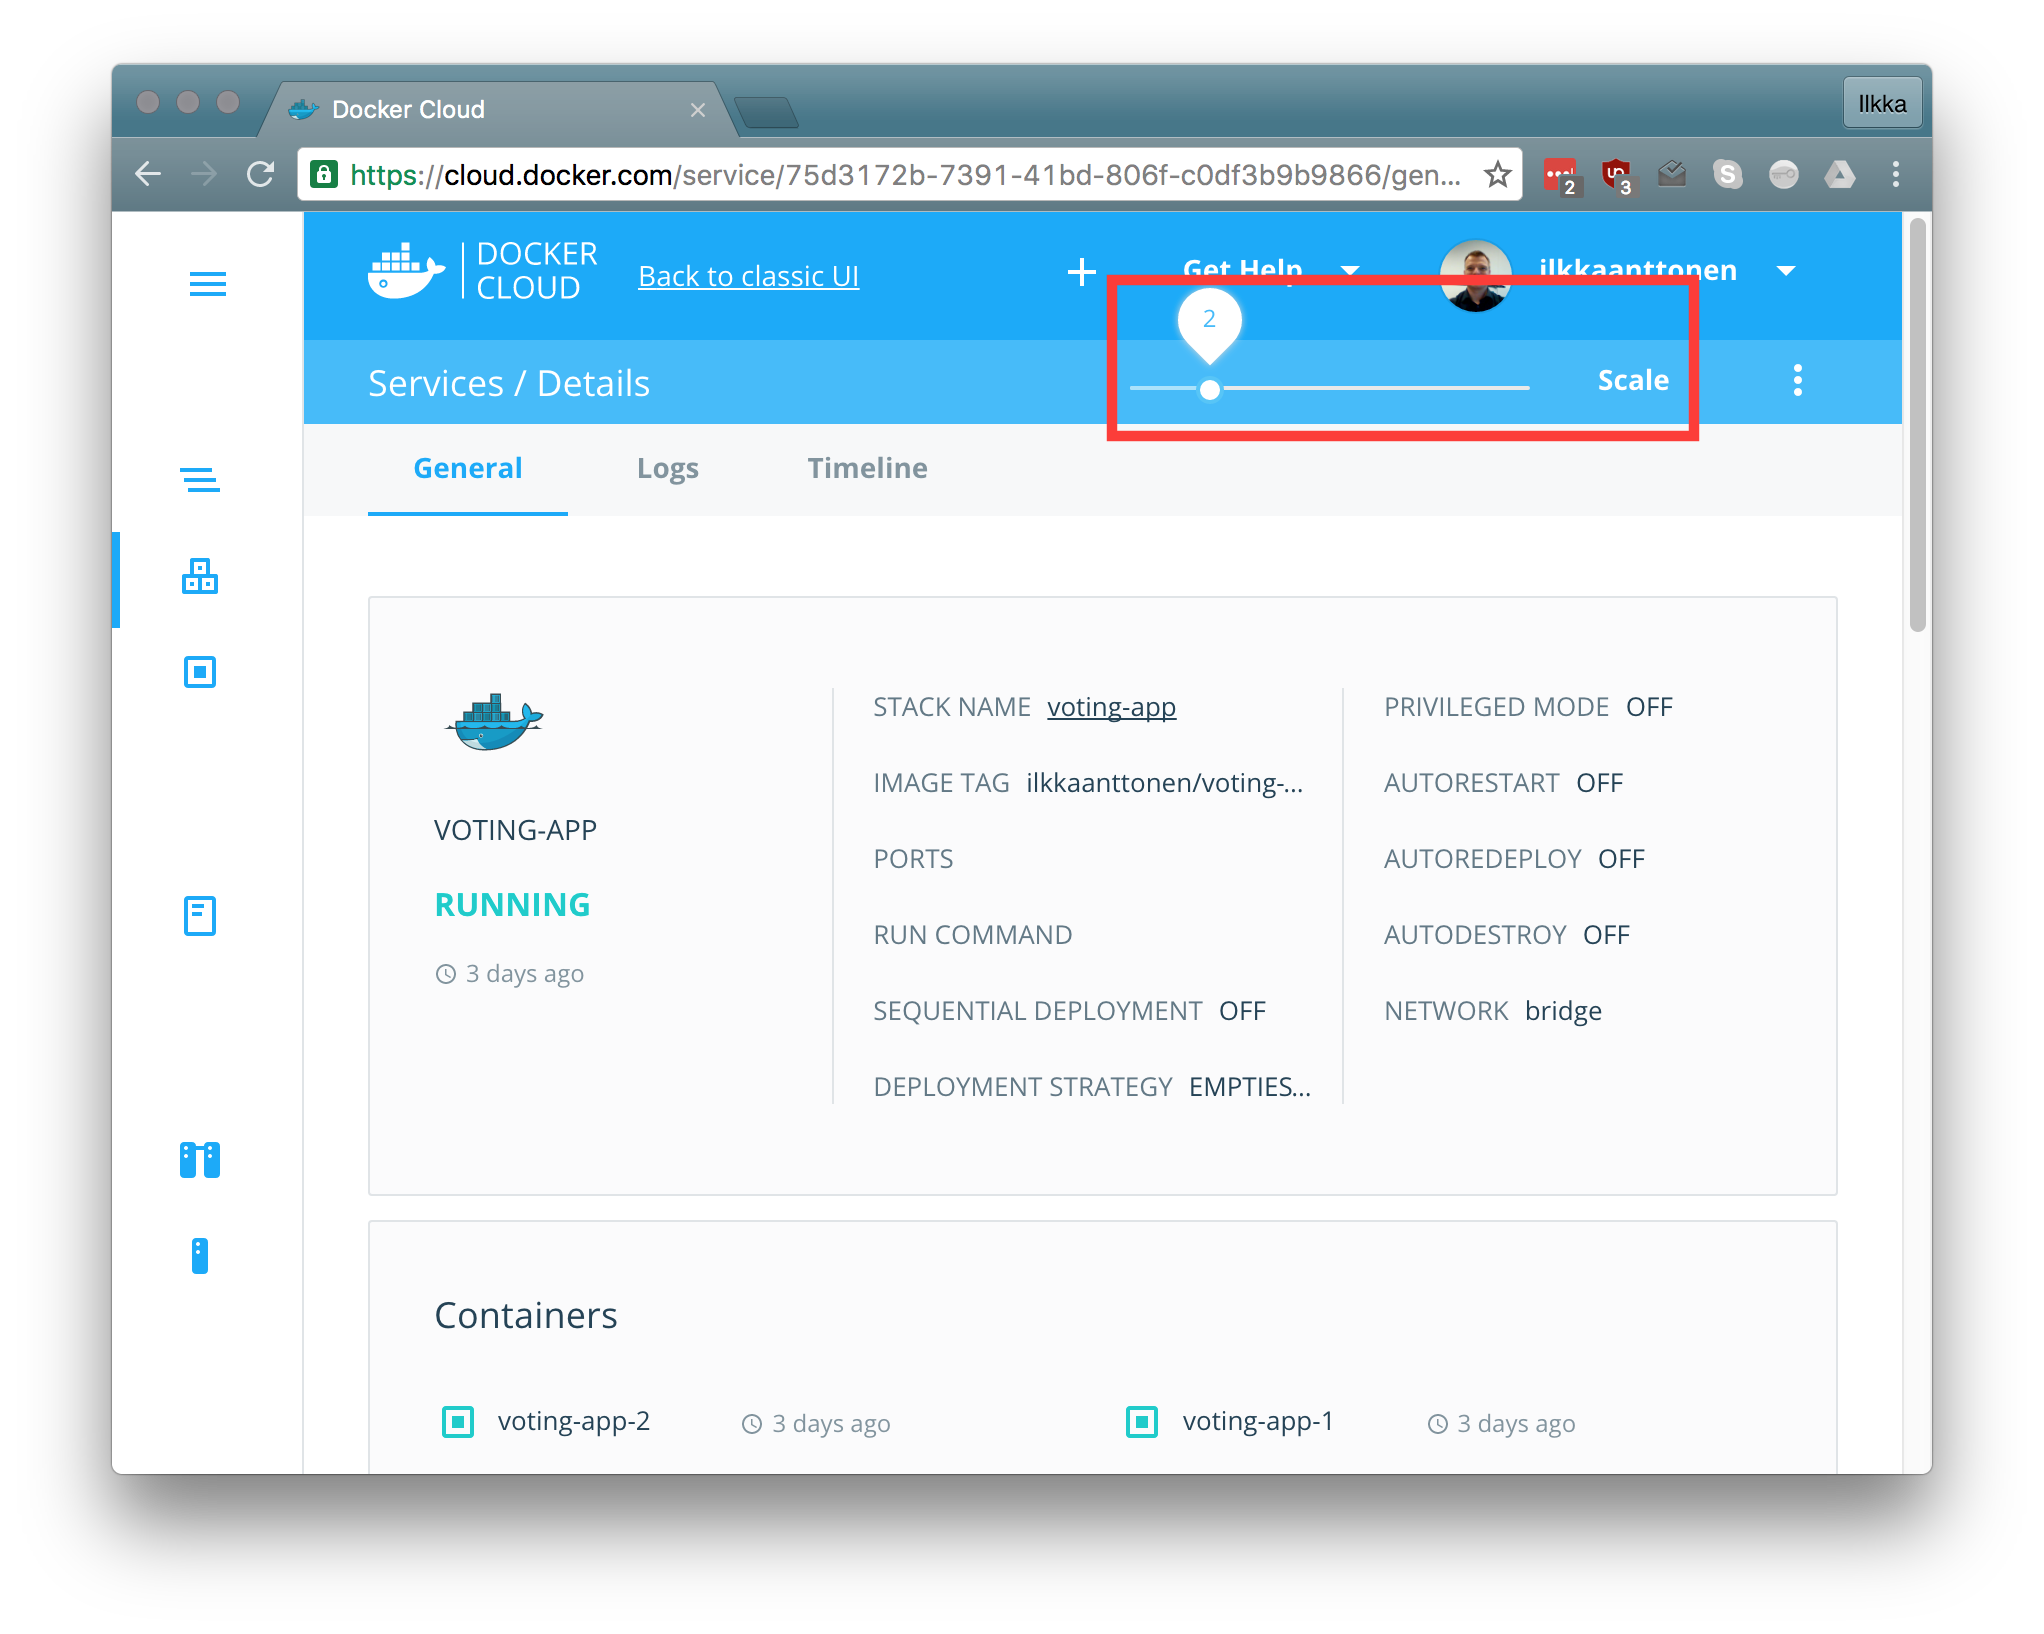
Scaling can be done through the UI or by changing the stack definition yml directly. If the scaling is done through the UI, the yml definition is updated automatically.
 The voting-app UI
displays which instance of the app handled the vote and should change when
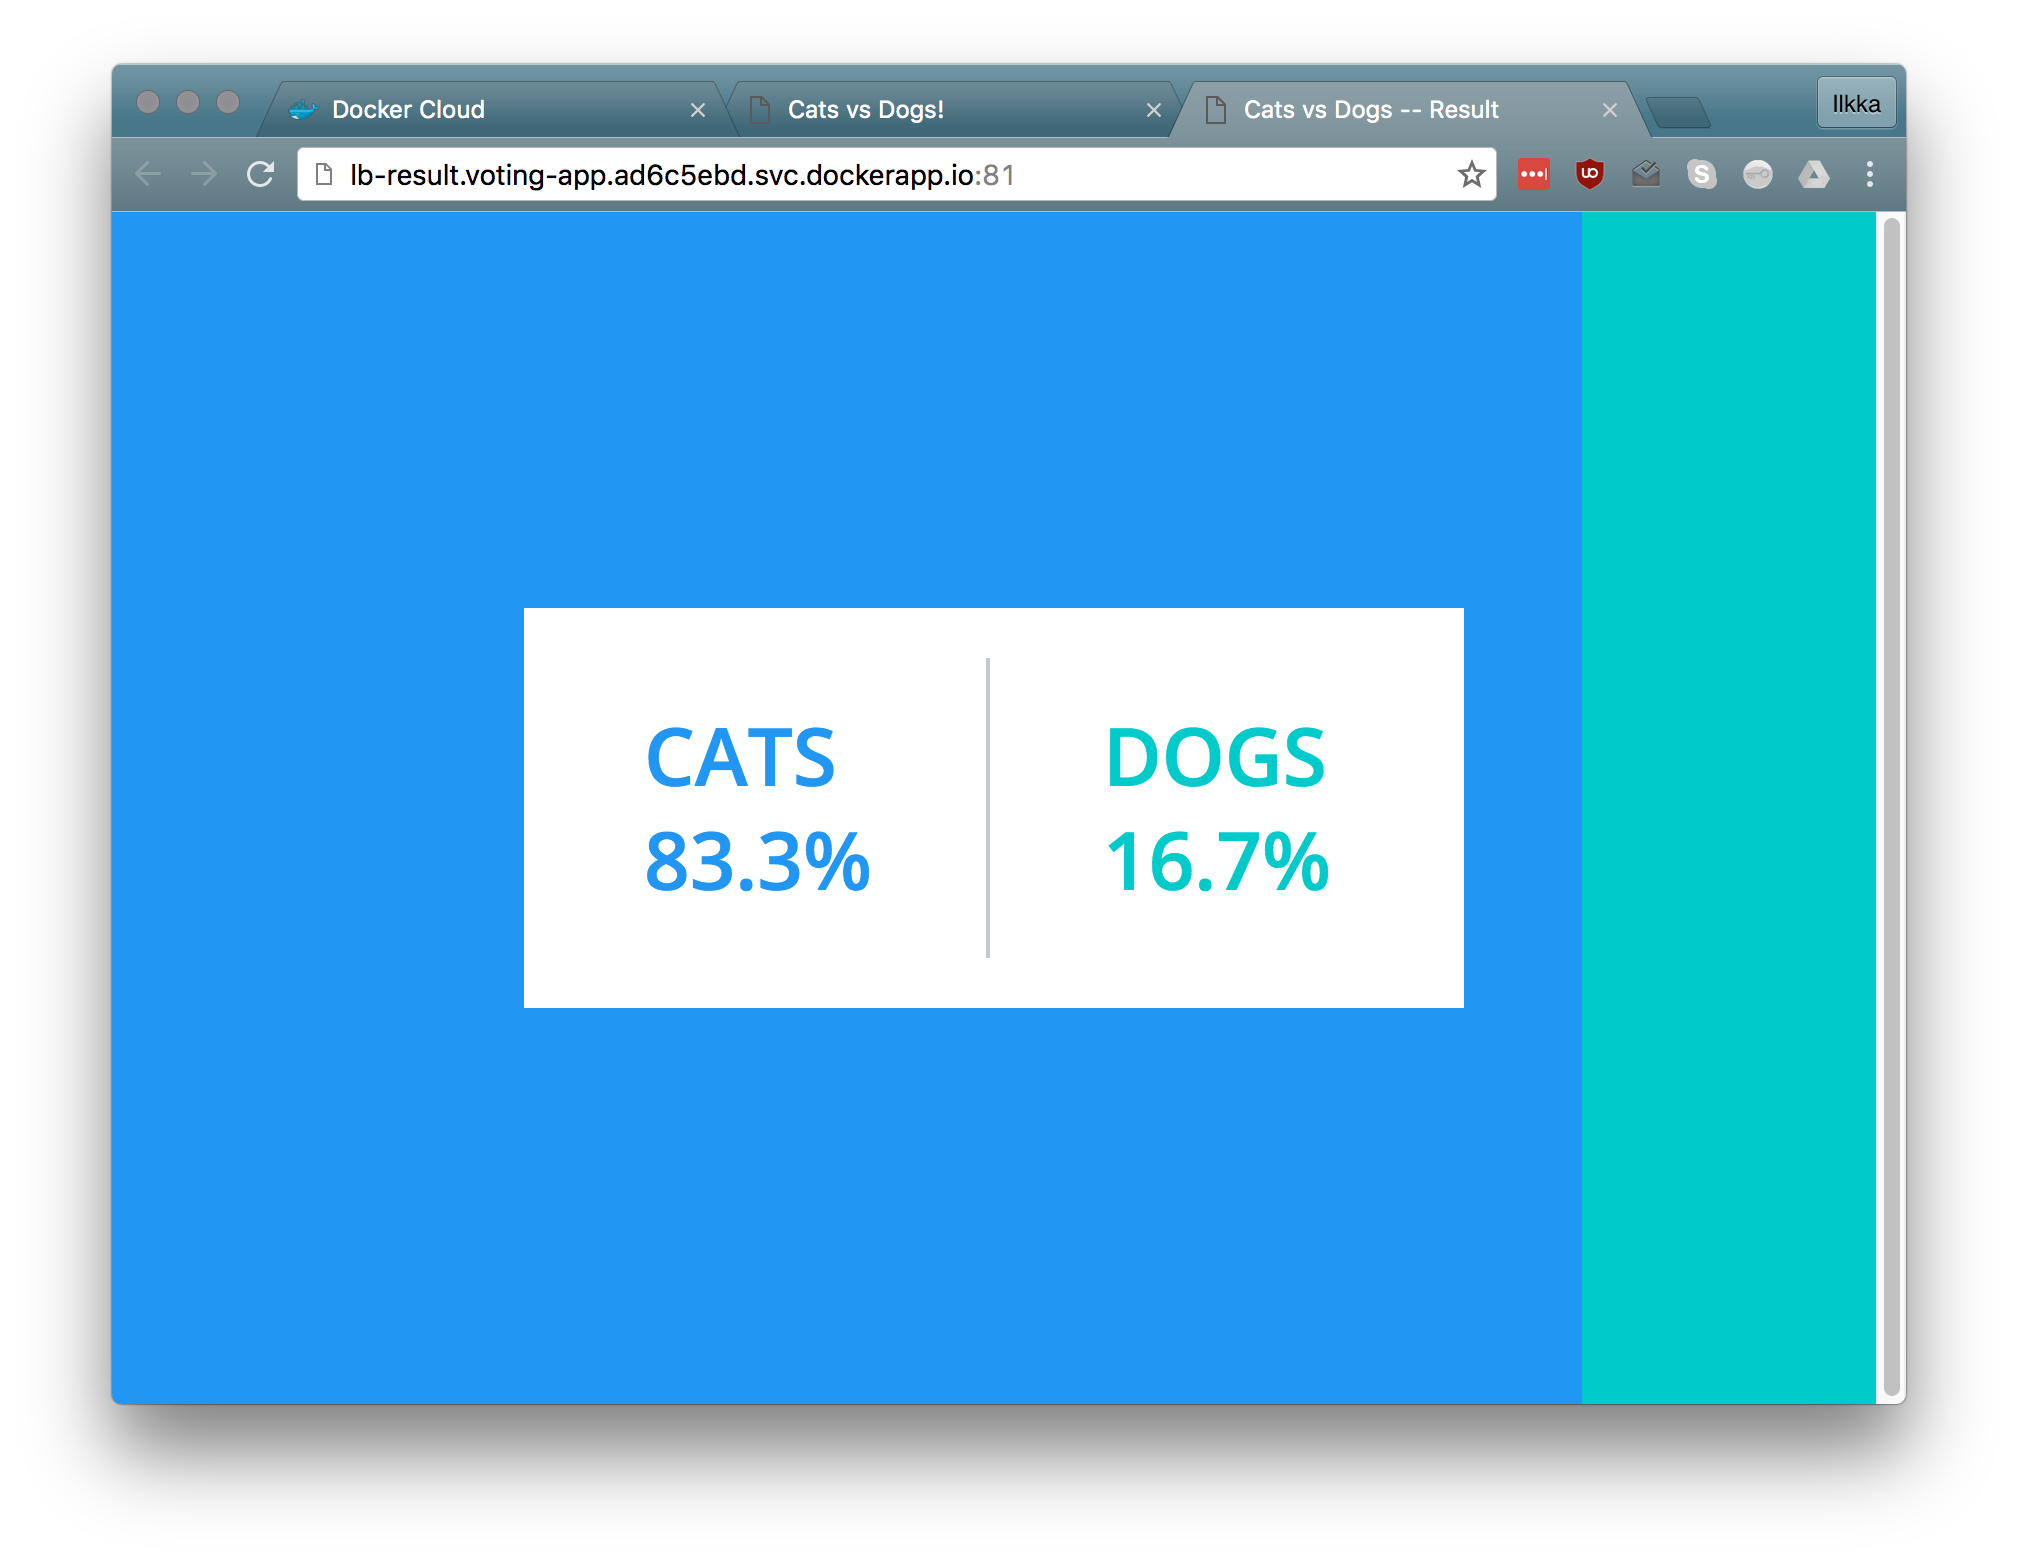
opening up new instances. If you have the result-app visible at the same time
you should see the results change in real time.
Notes
The voting-app seems to be quite sticky so for demonstrating multiple votes you may need to use incognito mode or multiple different browsers as otherwise the given vote just changes.
Conclusion
Getting the example-voting-app to run in Docker Cloud took a little tweaking, but after the DNS issues were resolved everything went smoothly. Docker Cloud has matured quickly and the next step should be a comparison of the capabilities offered by the different solutions and assessing their production readiness.
Comments