Automatic scaling with Docker 1.9 and overlay network locally and in AWS
Contents
General
In an earlier post I demonstrated how to get the new Docker 1.9 overlay networking to work in AWS using Docker Machine. In this post I add the scaling related parts from another earlier post into the mix, namely Consul, registrator and HAProxy combined with consul-template. The examples should run both locally using VirtualBox and in Amazon.
Set-up in VirtualBox
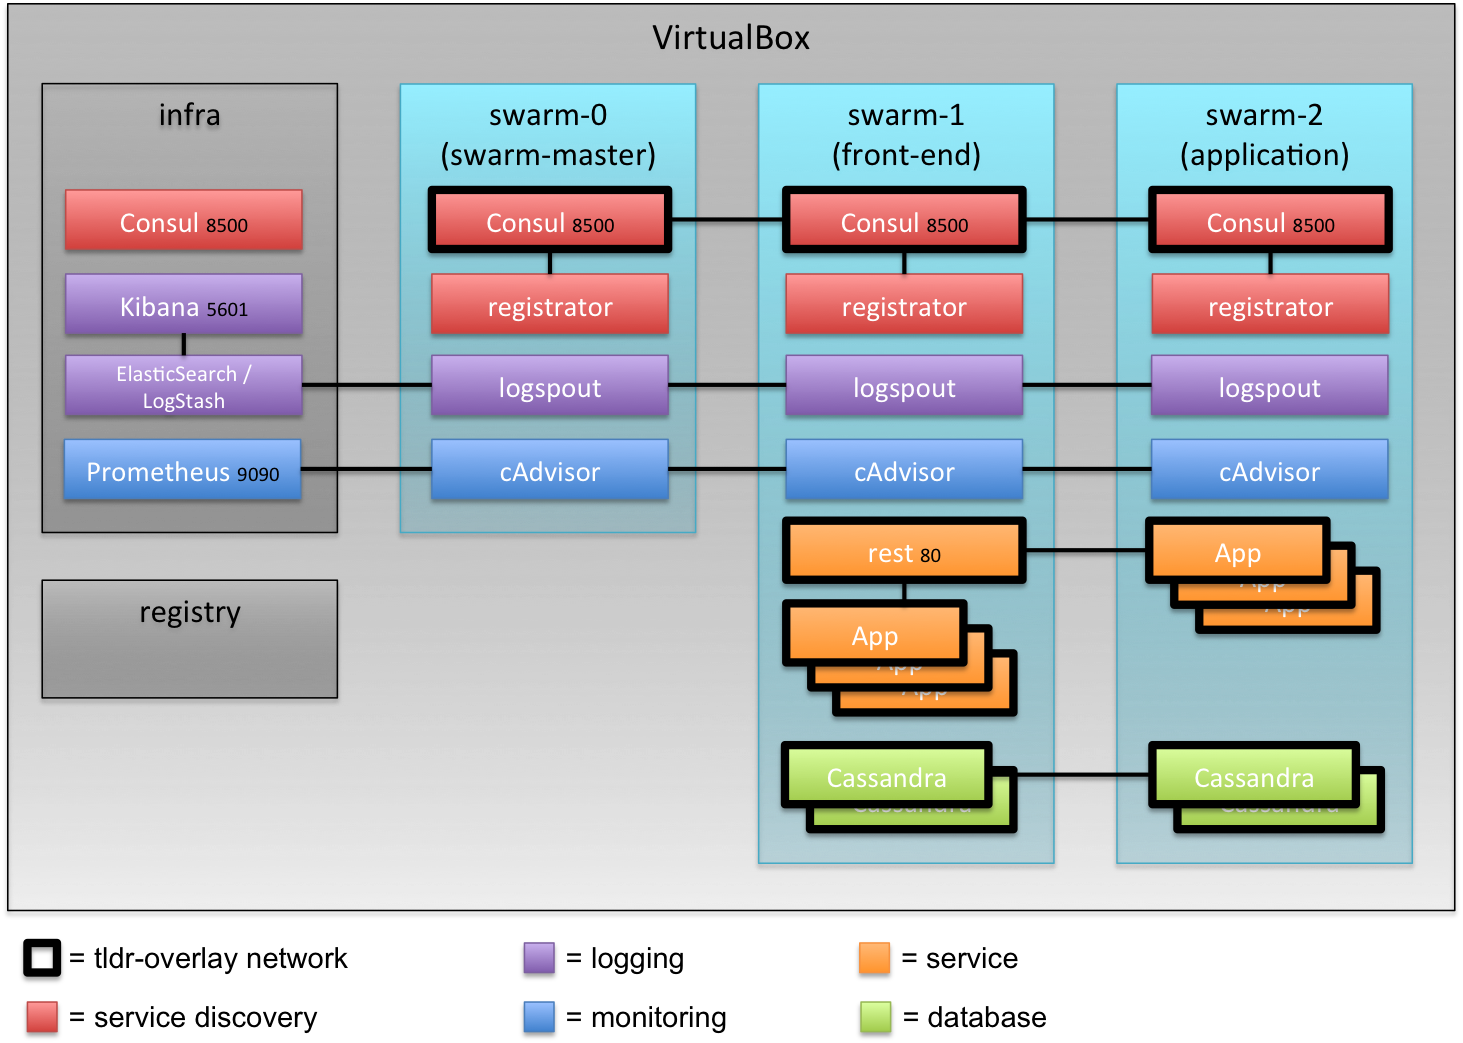
The set-up consists of a private registry to help speed up the creation of nodes and also to mimic a more production like environment. In addition there is an infra-server containing the Consul which is used to handle the overlay-networking configuration as well as docker swarm configuration. It also contains the optional ELK stack as well as Prometheus for monitoring.
The first swarm node (named swarm-0) acts as the swarm master and then there can be as many swarm nodes as required. The nodes can have labels like “front-end” which can be used to place containers. This way the front-end node can be exposed to external callers, but all the other nodes can be kept inside the VPC in Amazon to add an extra layer of security.
Set-up in Amazon VPC
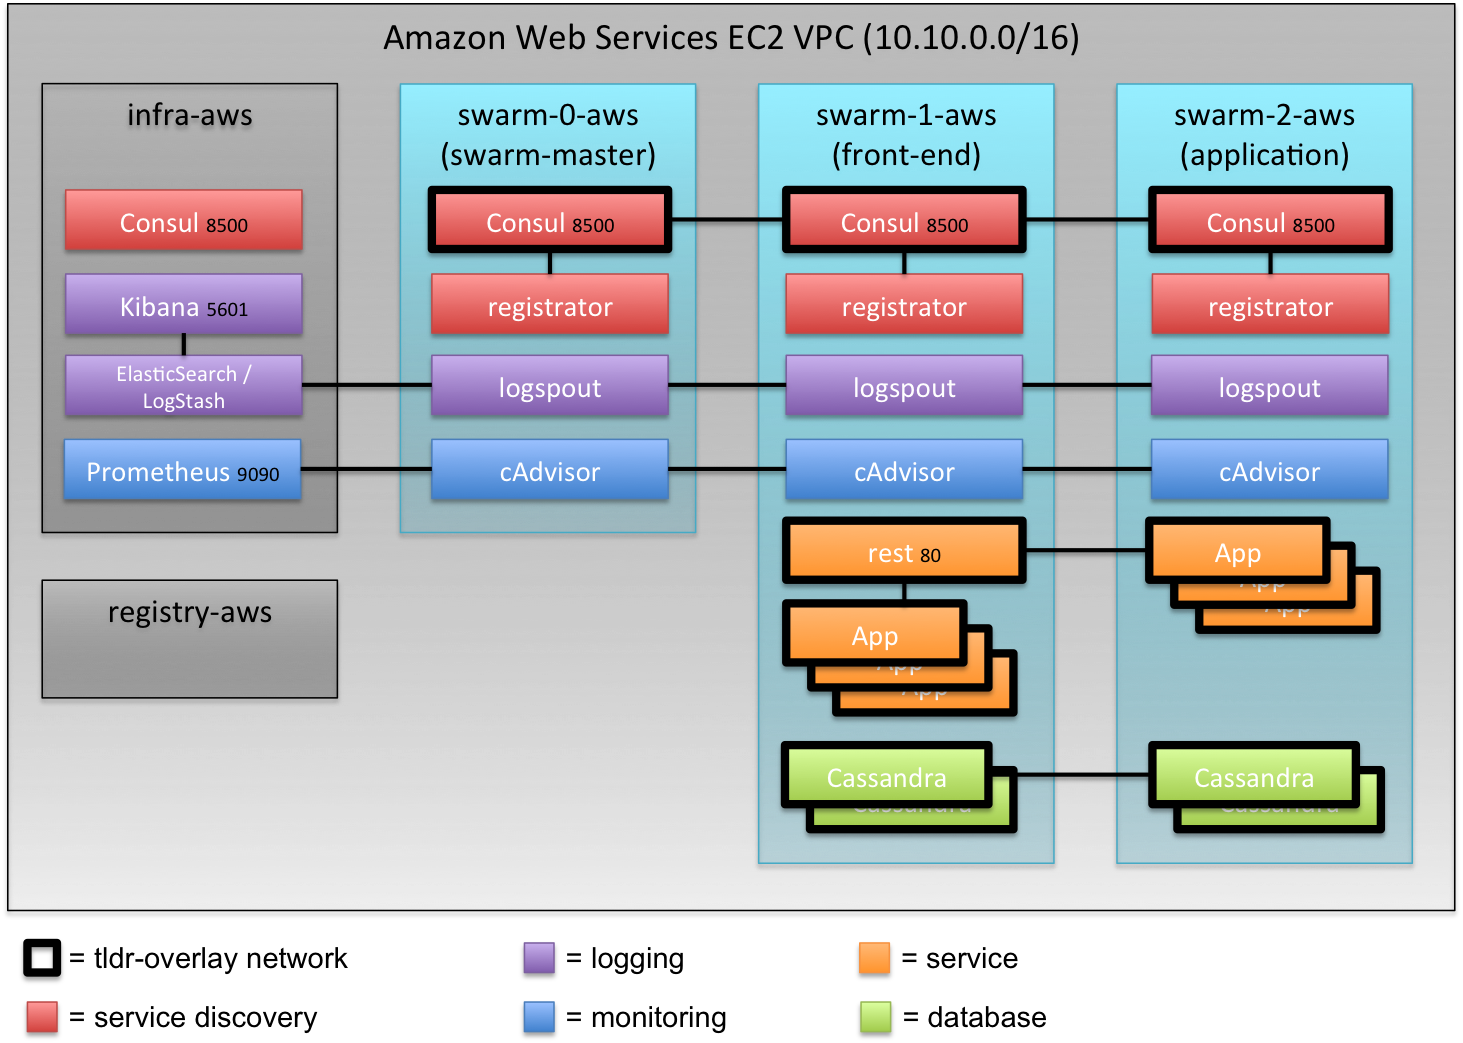
The set-up in Amazon Virtual Private Cloud is almost identical to the set-up in VirtualBox and the idea of using labels to direct the placement of containers is more useful.
Prerequisites
Docker Toolbox 1.9.1c contains all the required components as Docker Machine 0.5 was released and is now able to spawn machines in AWS which run on systemd.
If you’re testing the AWS based set-up, installing awscli is recommended.
Getting the scripts
The scripts can be found from github. They can be cloned with
1
git clone https://github.com/SirIle/docker-multihost
The directory containing the scripts relevant for this exercise is swarm.
Running either locally or in AWS
The only difference between running the scripts against Amazon or locally is the existence of a few environment variables. More information about that can be found from this blogpost.
1
2
3
4
5
export AWS_ACCESS_KEY_ID=<secret key>
export AWS_SECRET_ACCESS_KEY=<secret access key>
export AWS_VPC_ID=<vpc-id>
export AWS_DEFAULT_REGION=<region>
export AWS_ZONE=<zone>
Creating the environment
All these commands could be run in a single script but I’ll walk through the set-up so that building different parts is clearer.
Creating the private registry
The registry is set-up with the command
1
scripts/setupRegistry.sh
Depending on the existence of the AWS environment variables it creates a node either locally or in AWS and sets the registry up with a number of images, mainly ELK components, Prometheus components including cAdvisor and Swarm images.
Creating infra node
Infra node is created with the script
1
scripts/createInfraNode.sh
Creating swarm master (swarm-0)
Swarm instances including the swarm master are created with the
scripts/createSwarmNode.sh which takes two arguments, of which the first (node
id) is mandatory. Number 0 is considered swarm master. The second argument is
node label which can be given and can be used to tell swarm to direct containers
to.
1
scripts/createSwarmNode.sh 0
Creating second and third swarm nodes
The second (front-end) and third (application) nodes can be created with
1
2
scripts/createSwarmNode.sh 1 front-end
scripts/createSwarmNode.sh 2 application
Adding ELK-stack based logging (optional)
Logging using the ELK-stack (ElasticSearch, LogStash and Kibana) can be added by running the script
1
scripts/addLogging.sh
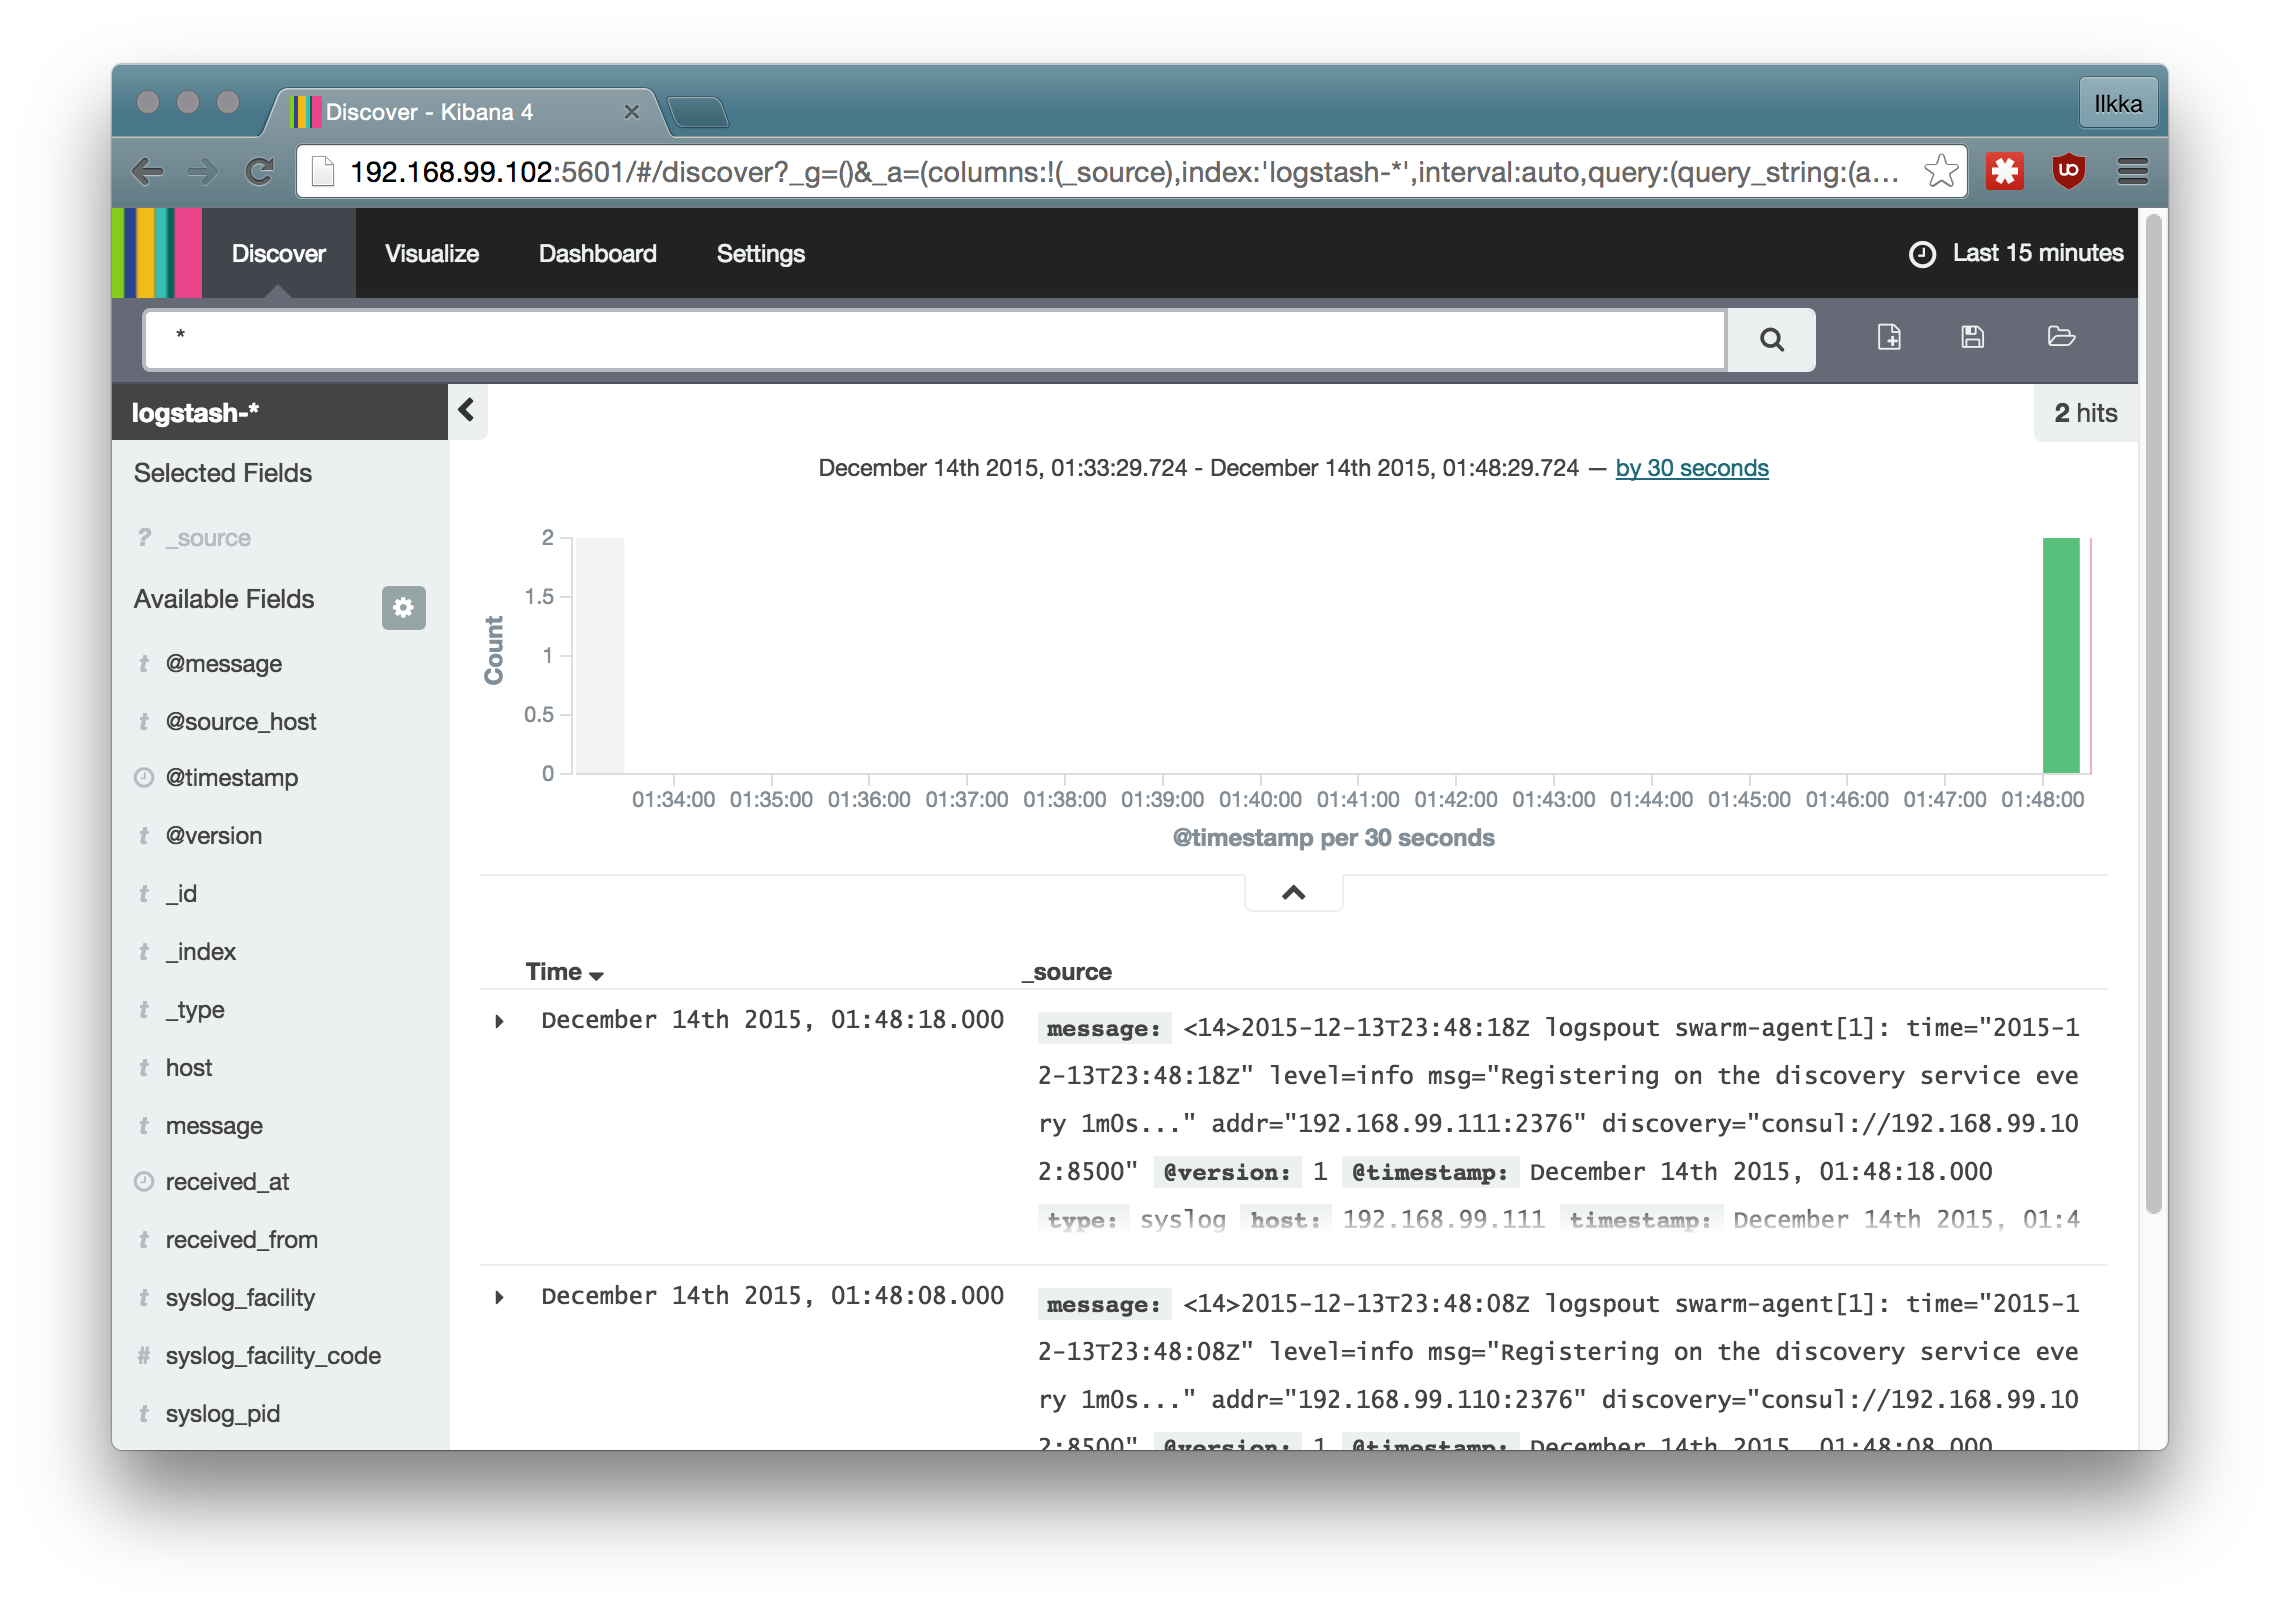
It starts the ELK-stack components on infra-node, detects the running nodes and starts logspout on them to direct the container logs to LogStash. The Kibana UI can be reached from the infra-node from the port 5601.
The logging components can be removed with the script scripts/rmLogging.sh.
Adding Prometheus monitoring (optional)
Monitoring using Prometheus with cAdvisor agents on the nodes can be started with the script
1
scripts/addMonitoring.sh
This starts Prometheus on infra-node and cAdvisor on all the swarm nodes. The
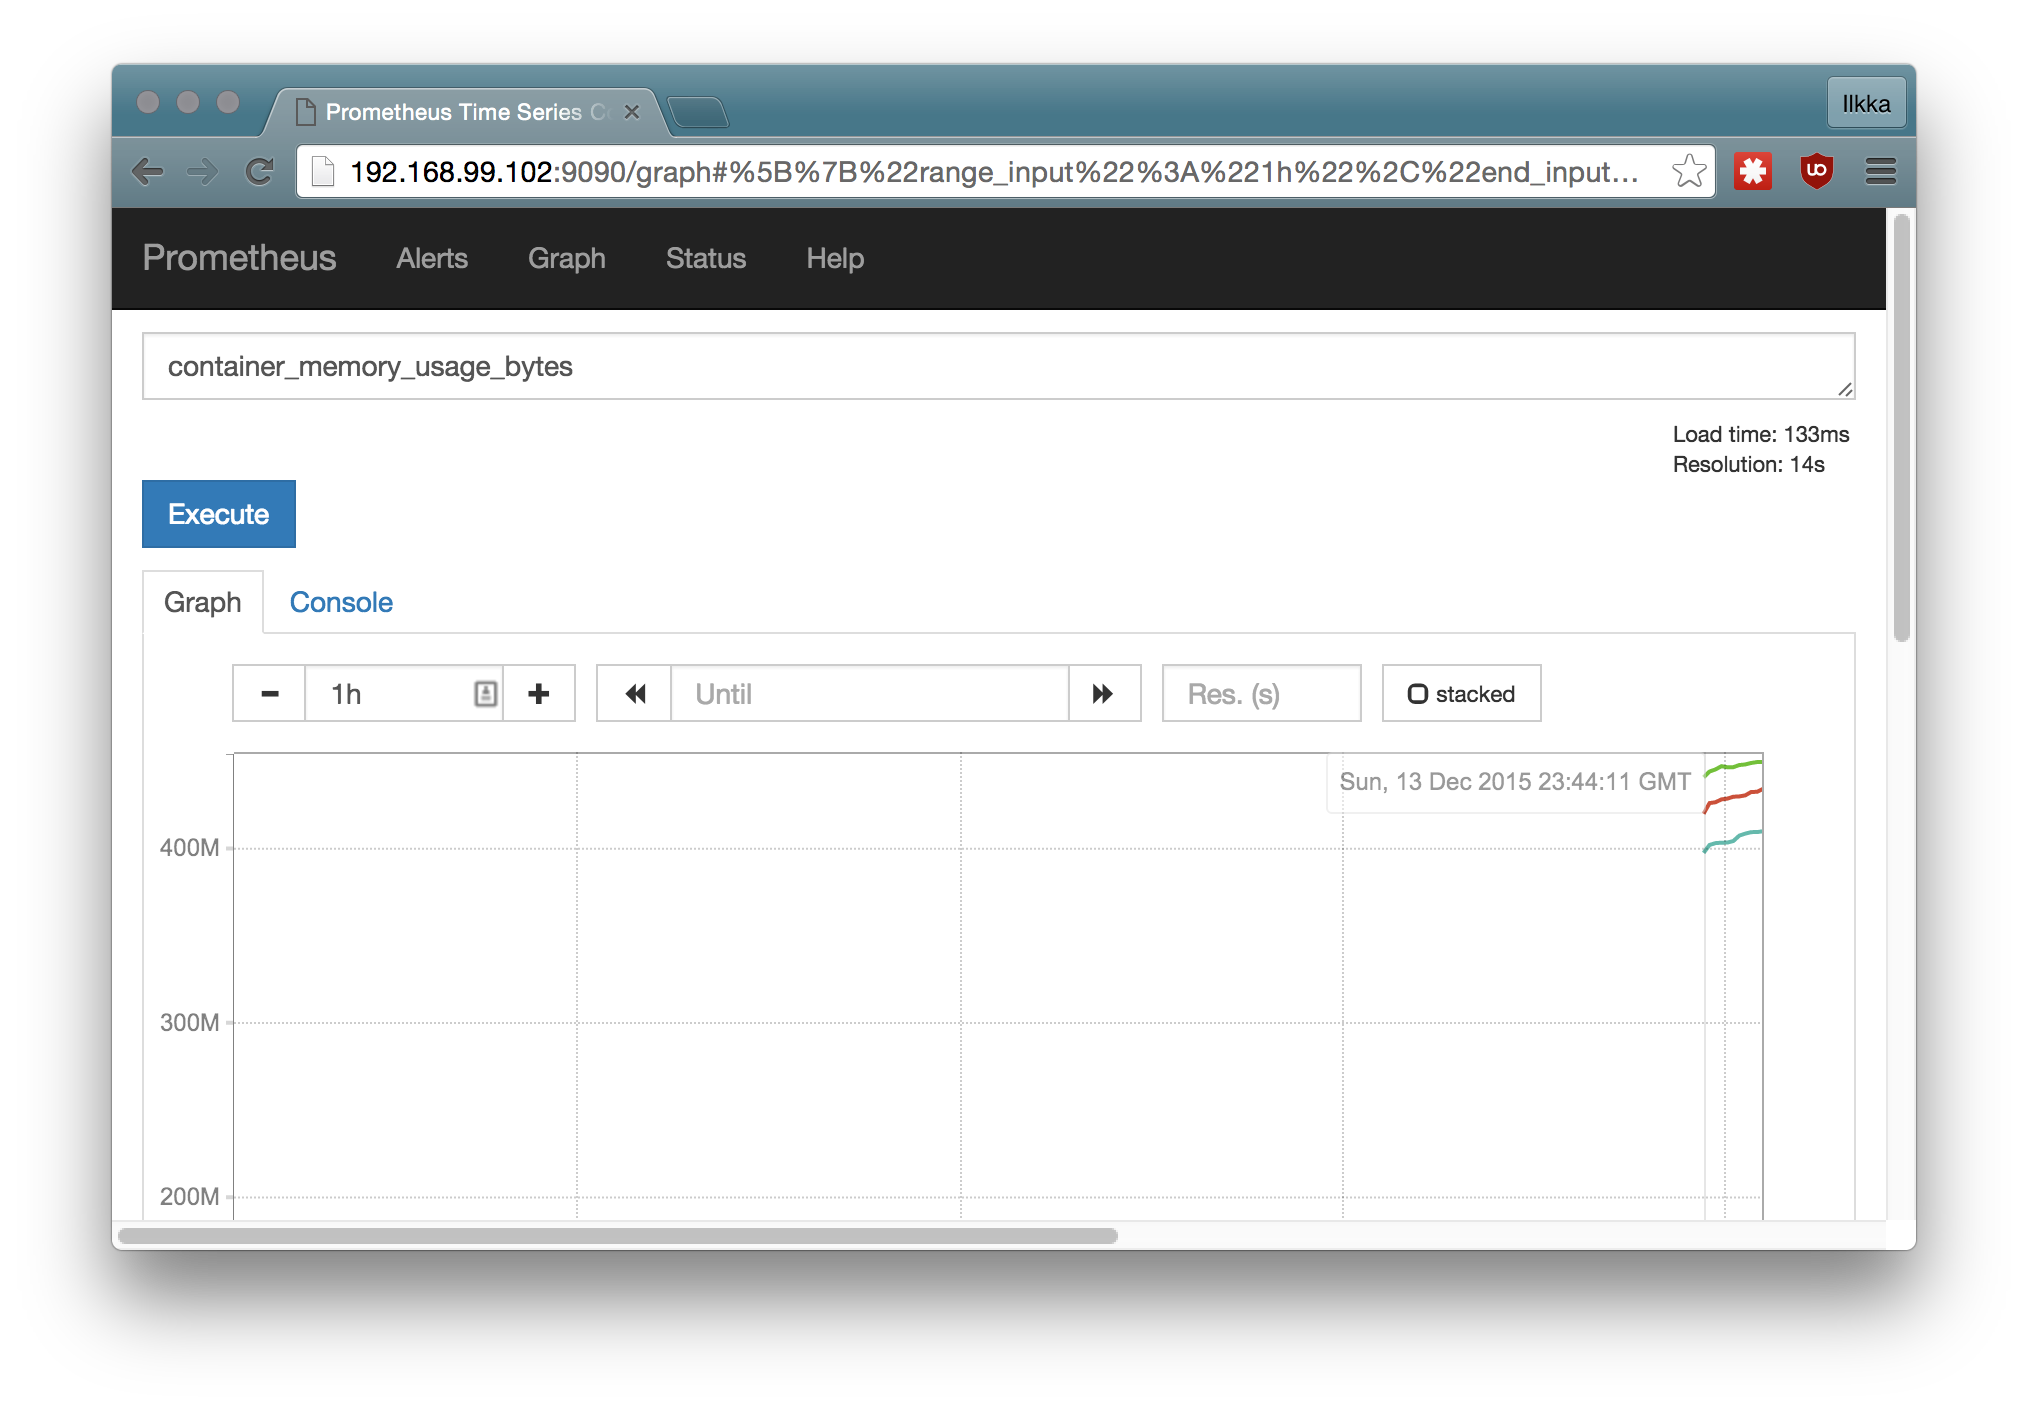
Prometheus UI can be reached at the infra-node at port 9090. Monitoring
components can be removed with the script scripts/rmMonitoring.sh.
Testing the platform
There is a script called info.sh in the swarm-folder which displays the
end-points of the started services. If you’re running in AWS make sure that you
have opened the correct ports in the firewalls. This can be done with the
command
1
aws ec2 authorize-security-group-ingress --group-id <security-group-id> --protocol tcp --port <port> --cidr $(curl checkip.amazonaws.com)/32
where you should replace the <port> with 80 for the HAProxy endpoint, 9090 for Prometheus and 5601 for Kibana. You can find the security group id from the Amazon Console.
Starting example services
The script startService.sh takes two arguments: url-path and image name and
launches the given service in the swarm. It automatically spawns a HAProxy on
the front-end node if one isn’t already running. When the service is launched,
it is automatically registered (by registrator) to the consul running on the
node it happens to launch in. Then the HAProxy configuration is rewritten to
include the routing to the launched service with the given url-path. For example
1
./startService.sh hello/v1 sirile/go-image-test
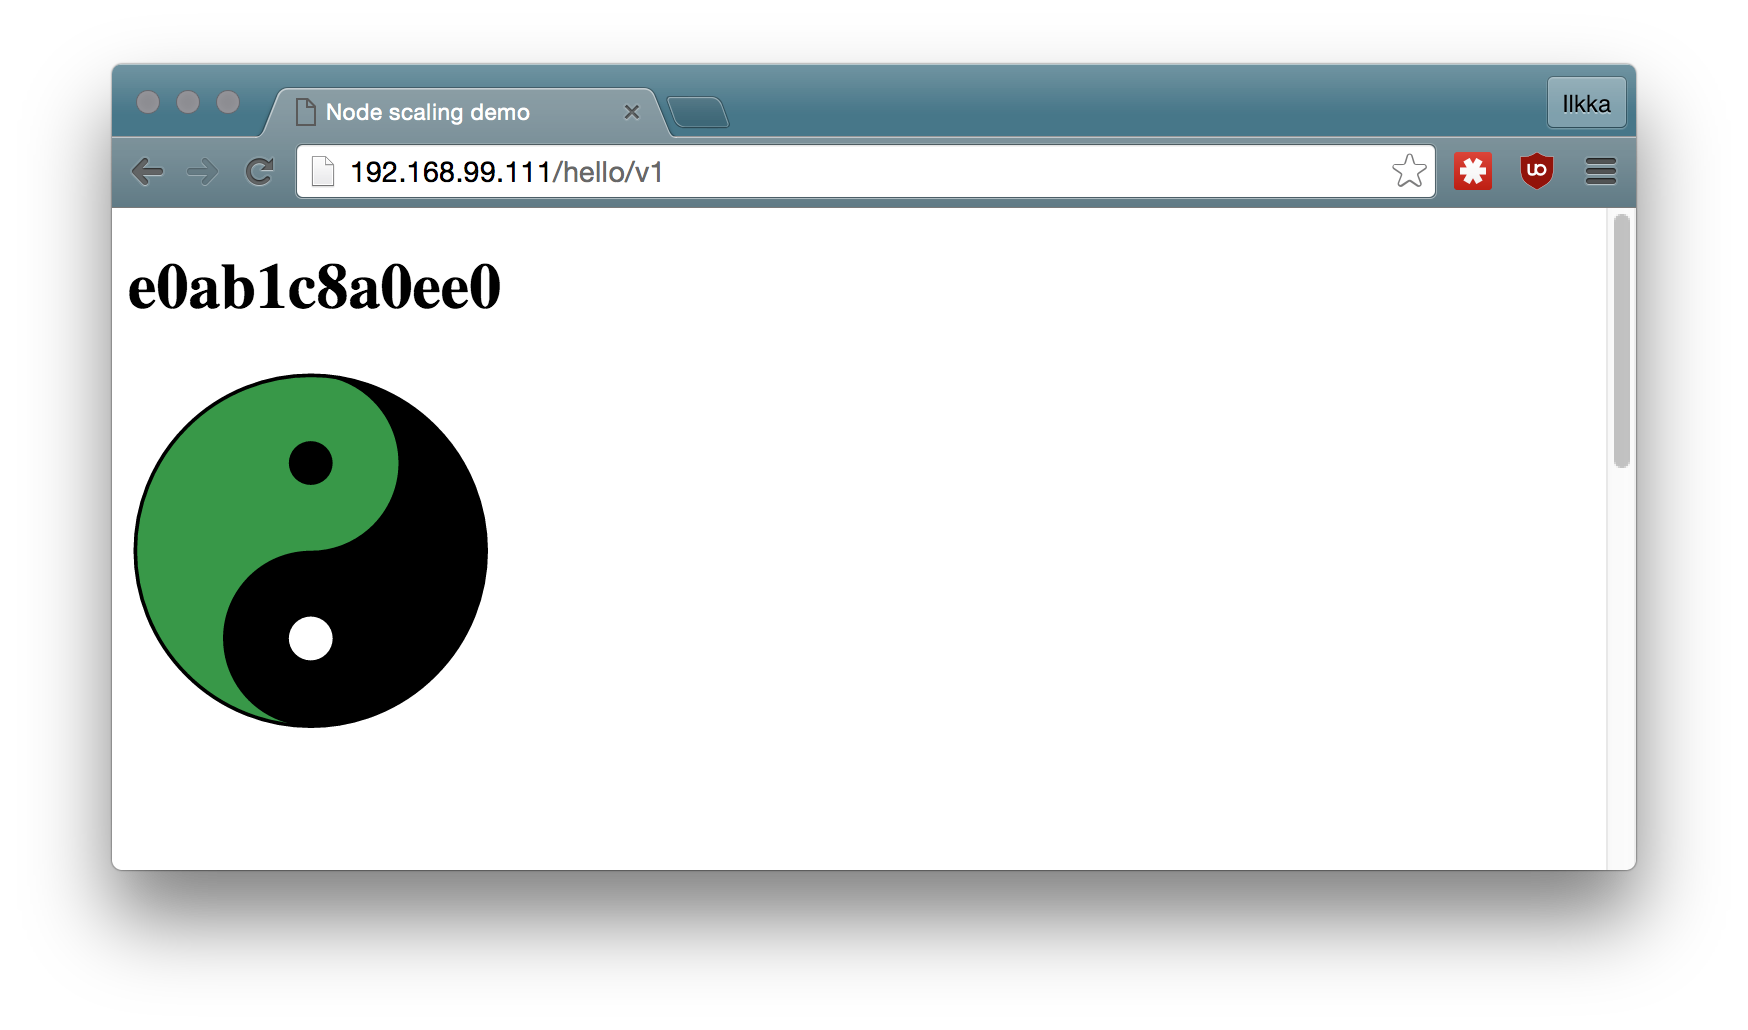
first checks if go-image-test image can be found from the private registry, if not, it is fetched there and the launched. If the service resides in the context root of the container, then it can be reached from http://IP_OF_HAPROXY/GIVEN_PATH, in this case for example http://192.168.99.101/hello/v1.
New versions of the service can easily be launched under a different url. More information about building the HAProxy configuration can be found from here.
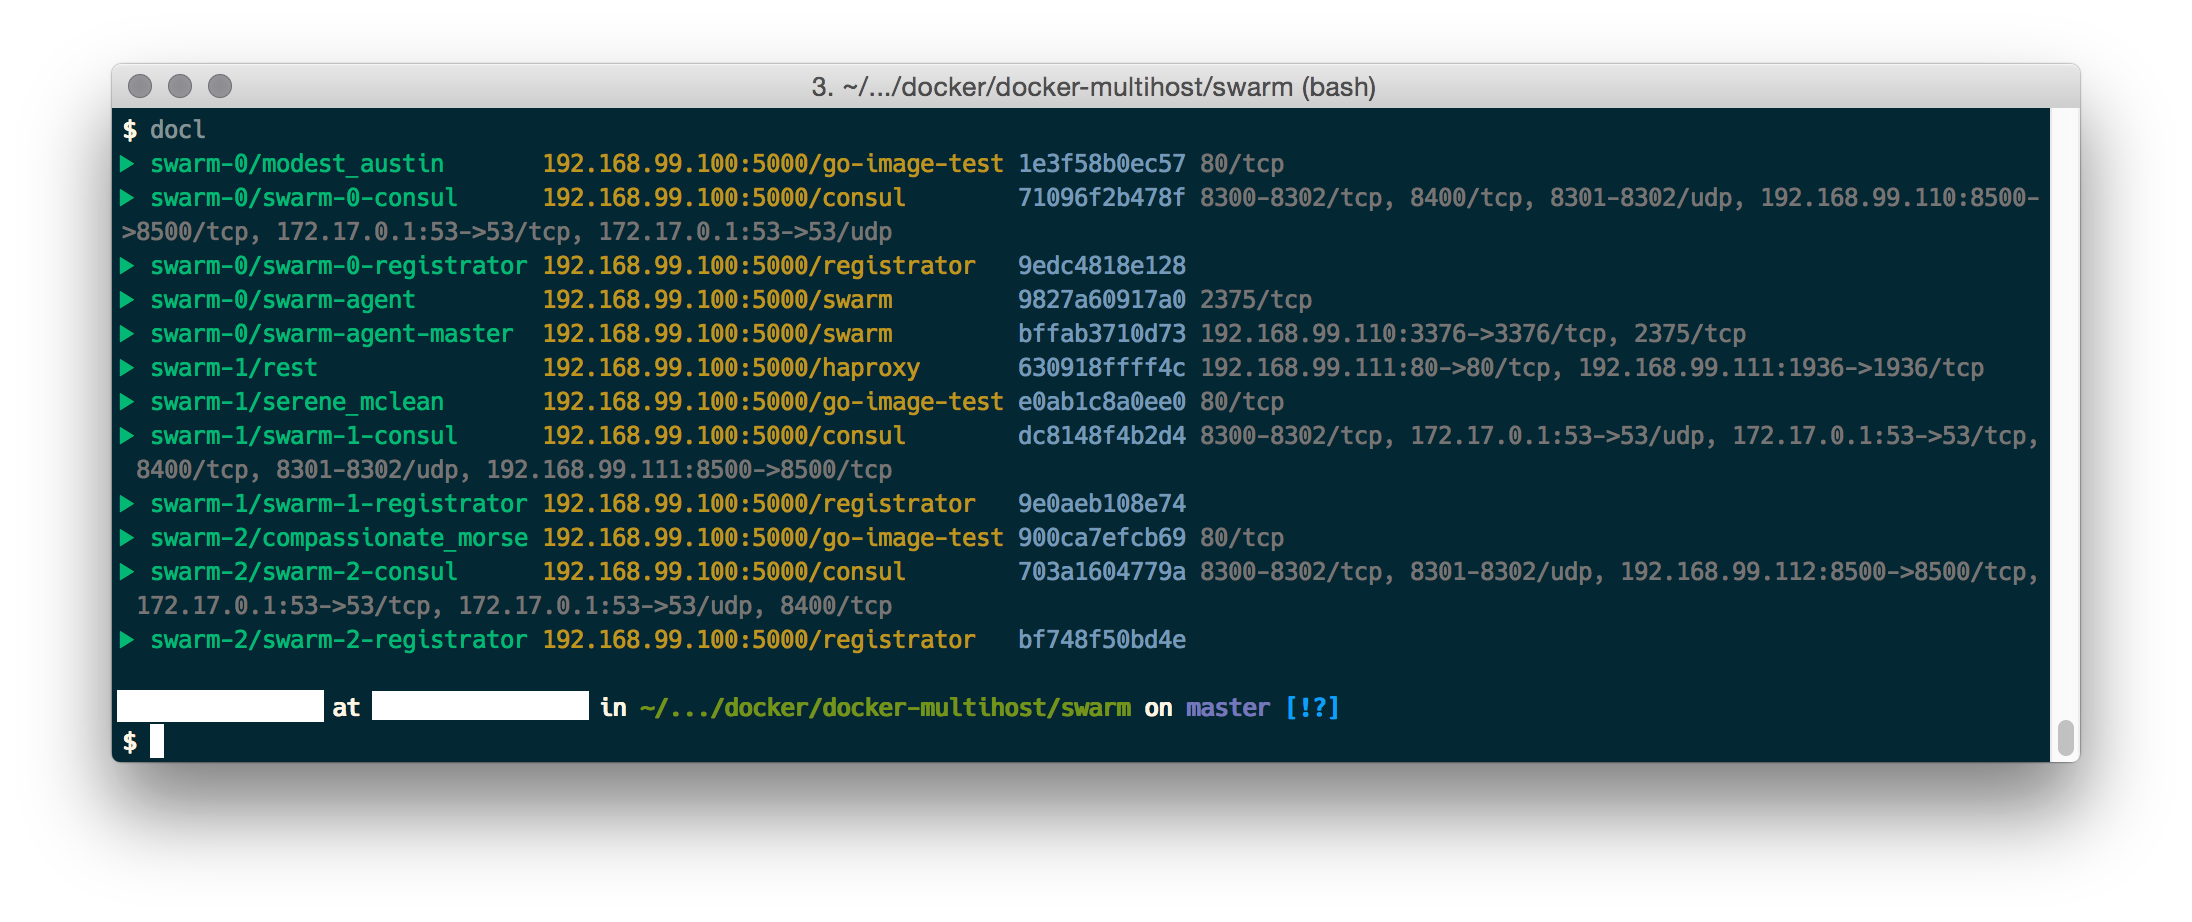
After starting a couple of services you should see something similar to this:
 And when you access the example service through the HAProxy:
Conclusion
The new Docker 1.9 overlay networking greatly simplifies things and enables a true distributed set-up with minimal hassle. There are still some kinks, but I have been impressed with the work Docker has been doing with the platform.
I hope they’ll add the ability to move running containers around (and thus achieve the ability to rebalance a swarm) and the ability to snapshot filesystems (for backup), but for now the system is good to go.
Comments